Wake Forest, North Carolina
You may click on any photo to enlarge it.

Wake Forest, North Carolina
You may click on any photo to enlarge it.
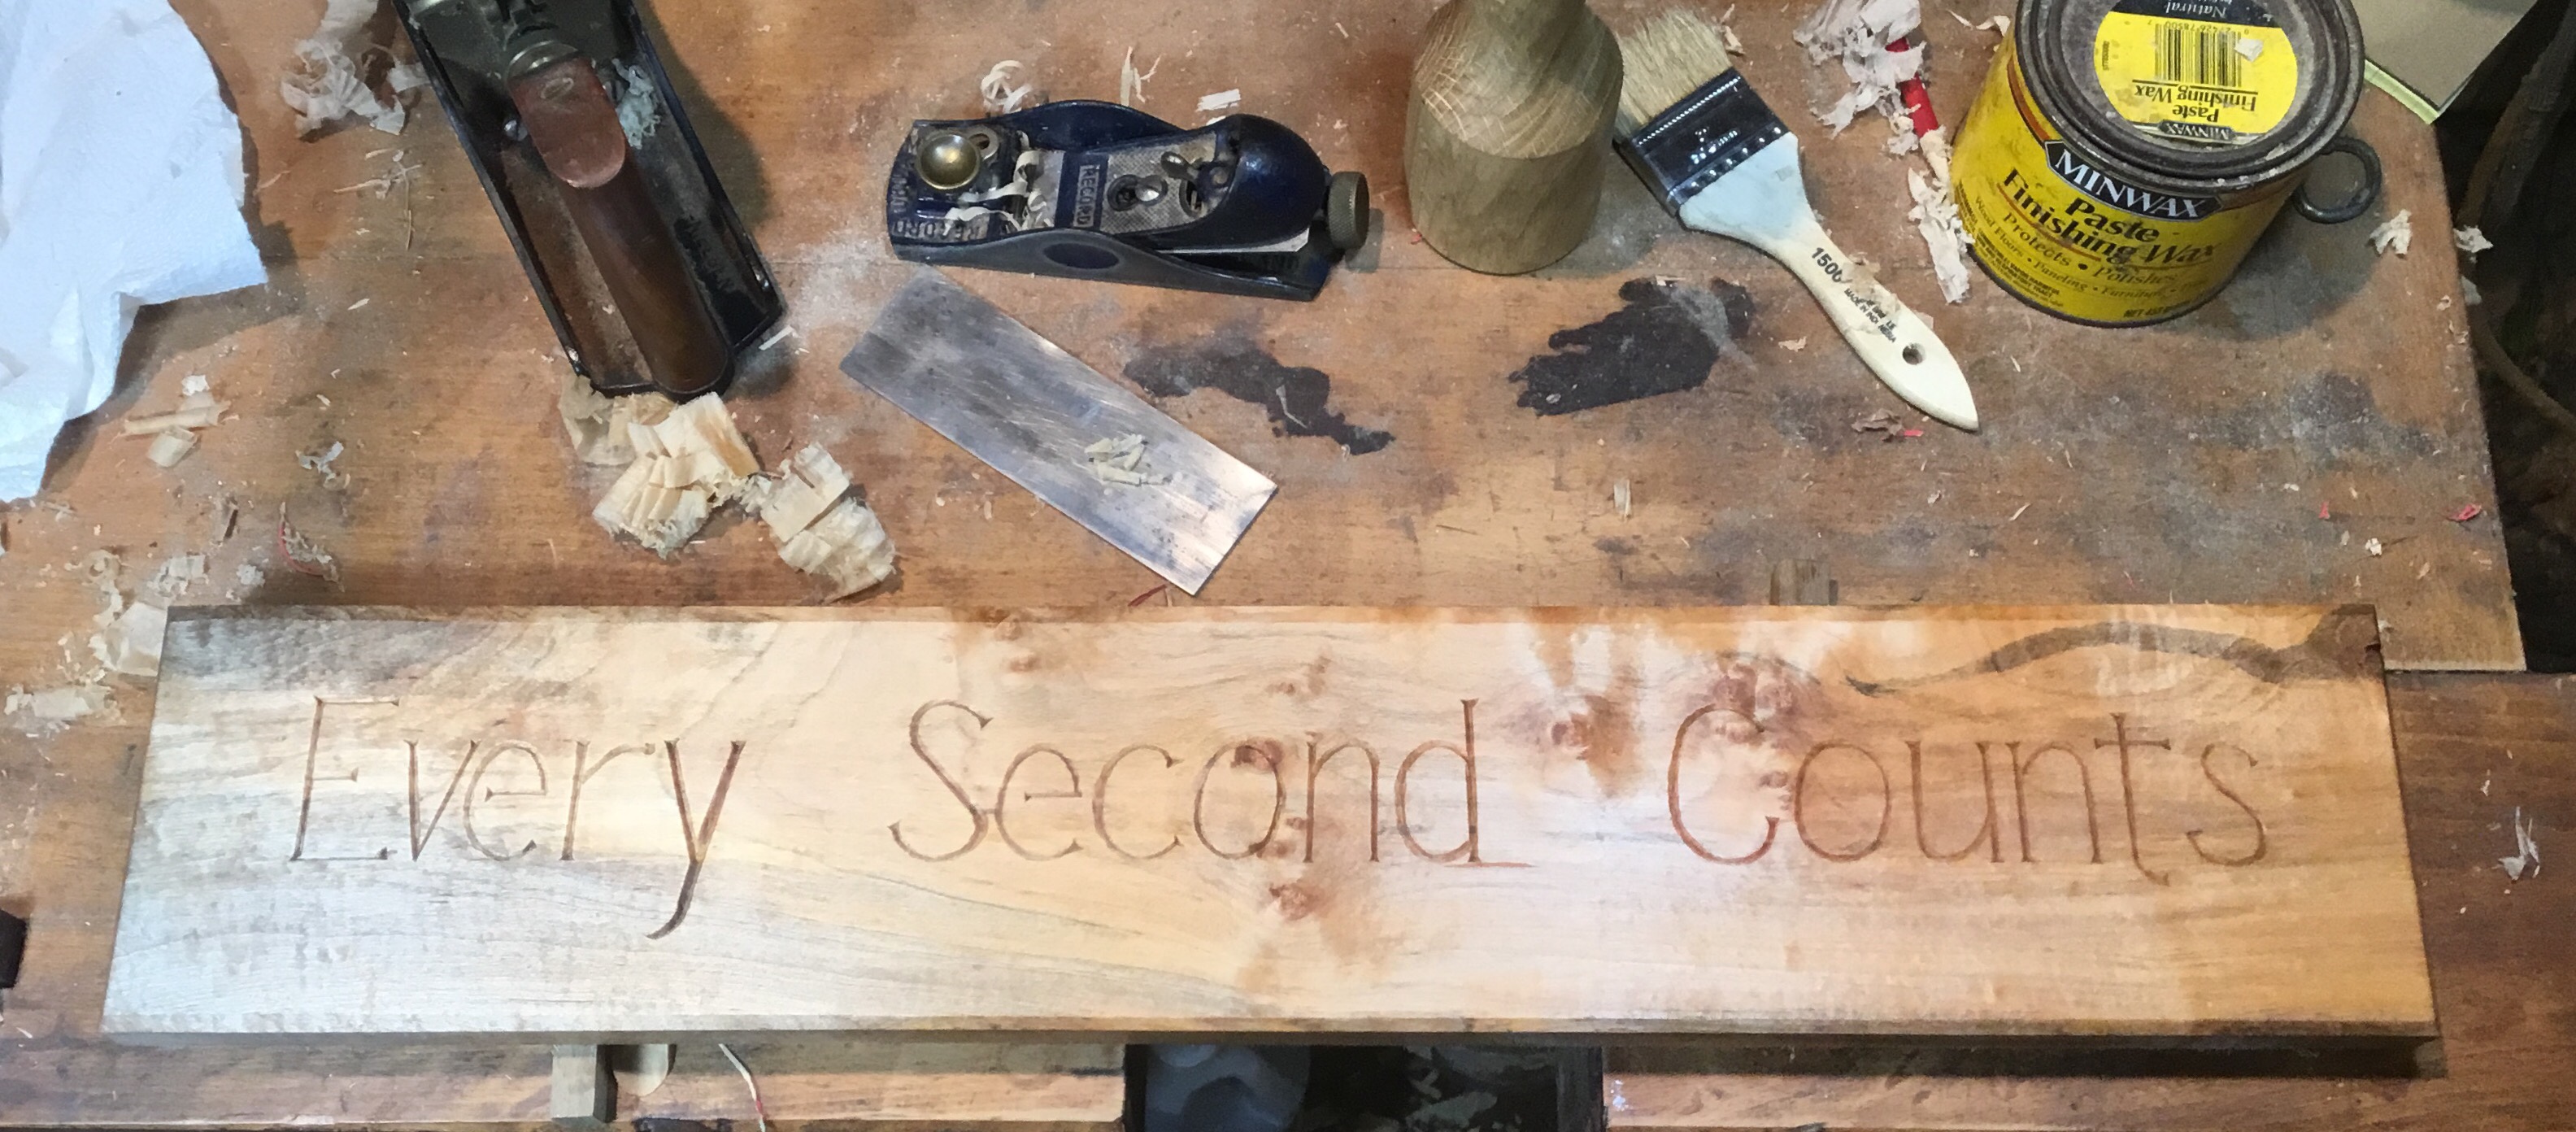
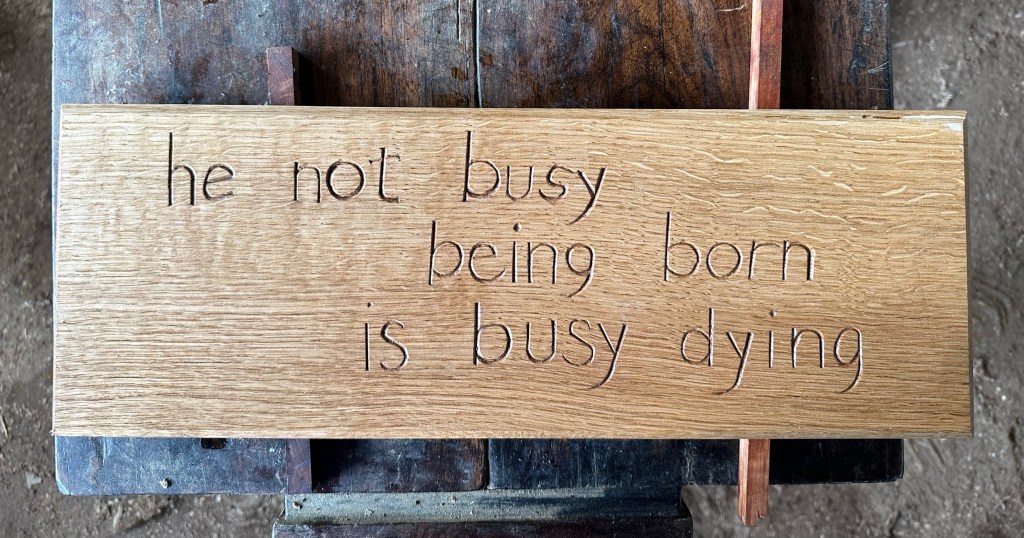
I’ve been really enjoying practicing carving letters. I don’t know what I’m going to do with these carvings, but here’s a new carved sign in some figured soft maple. The message comes from “The Bear” which I’ve been watching with my family. The message, I think, is different for me than it is for the restaurant workers in the tv show where it is posted prominently in the kitchen, but I think we all need to make sure every second counts.
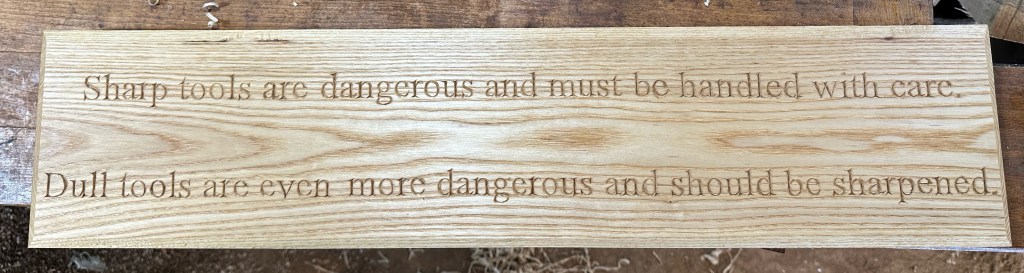
When you buy a chisel from Lie Nielsen Toolworks it comes with a little card with this warning (advice?) on the back. I wanted something to practice carving and this aphorism struck me as being pretty close to woodworking scripture. Lie Nielsen is proud of the fact that their tools leave the factory sharp whereas many other tool makers send their tools bevel ground, but far from ready to use. Carved on a White Oak panel.

A craftsman’s meditation.
I’ve been studying Letter Carving in Wood by well known British wood carver, Chris Pye. Here are some first efforts.


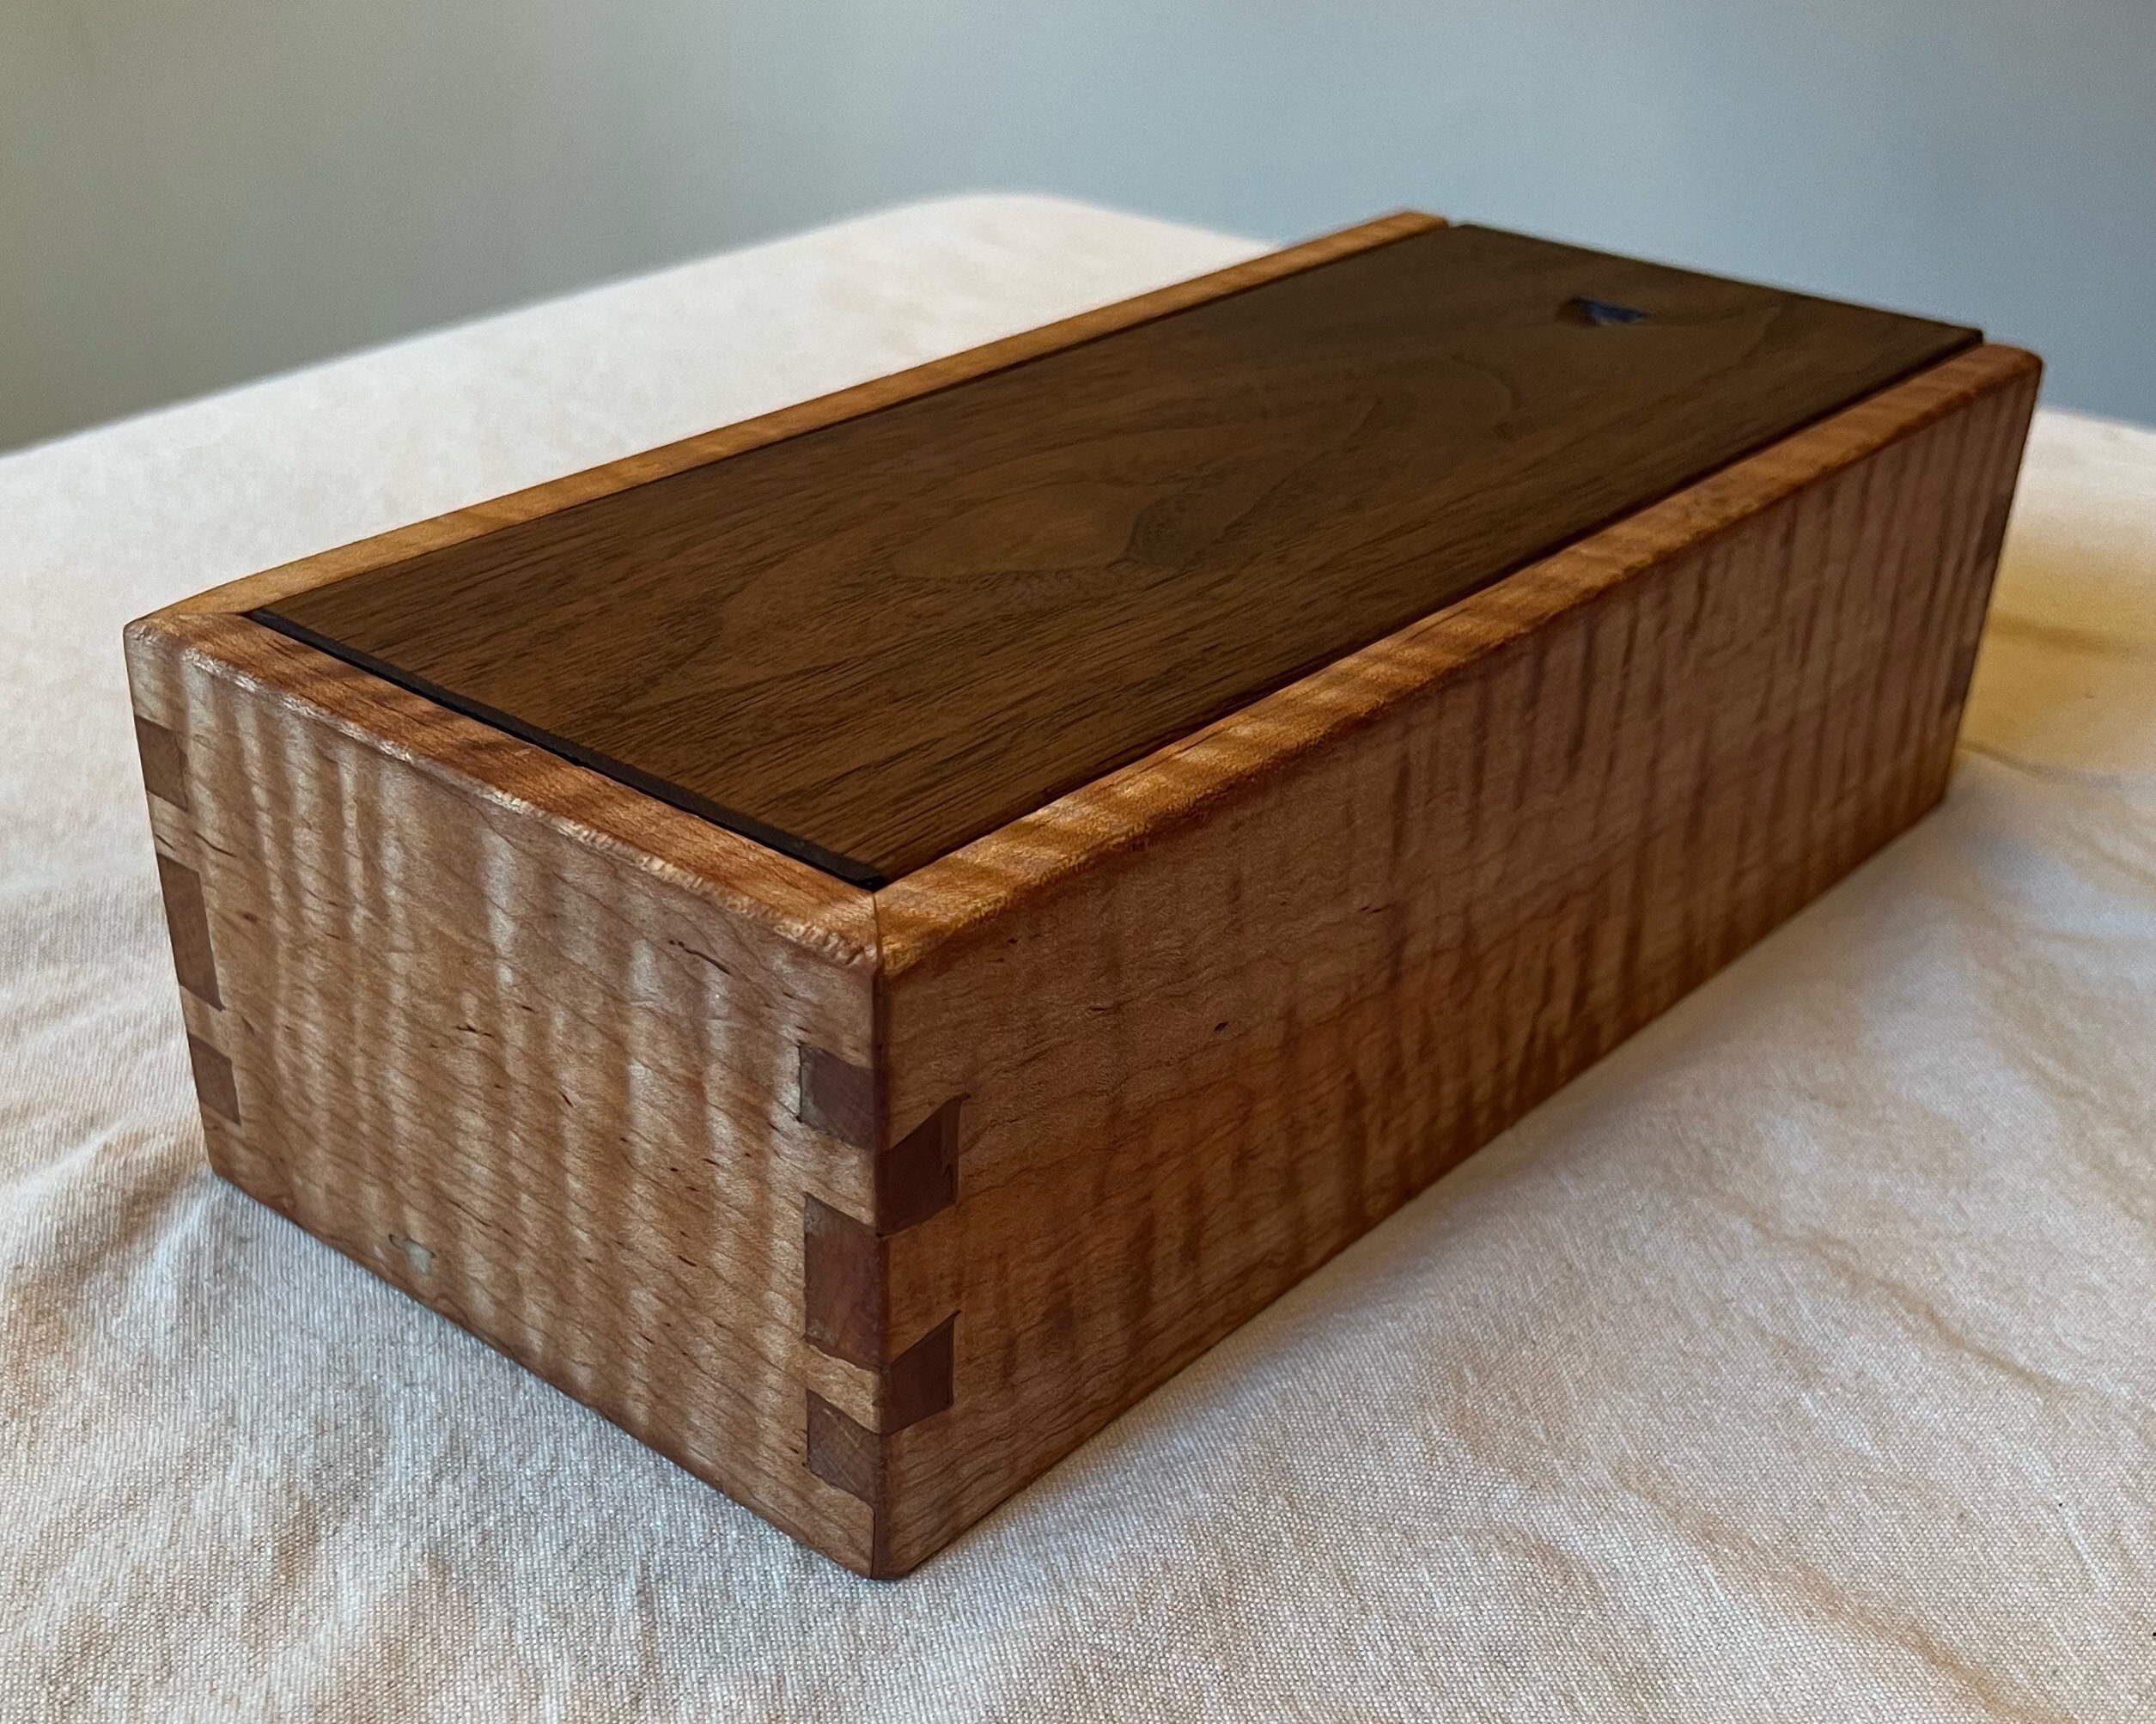
Dovetailed box with sliding lid by John Buscemi

Our Spring Class at Alamance Community College has just finished up. We had a great semester! Here are some pictures of the students and their work.
Here’s a small bowl by John Zatti: spalted maple, beautifully done.

This view shows the inside of the bowl more clearly. The black and brown lines are caused by fungus that enter the wood shortly after the tree dies.

Grey Upchurch turned this hickory bowl: it’s perfectly finished, not an easy task when the bowl curves back in at the top.

Alan Reid turned these Christmas ornaments. Each one started out as 4 separate pieces glued together with paper in the glue lines. They were turned once, split along the glue lines and re-glued inside out then re-turned. The ornament has lots of visual appeal and is not so heavy that it weighs down the branch where it is hung.

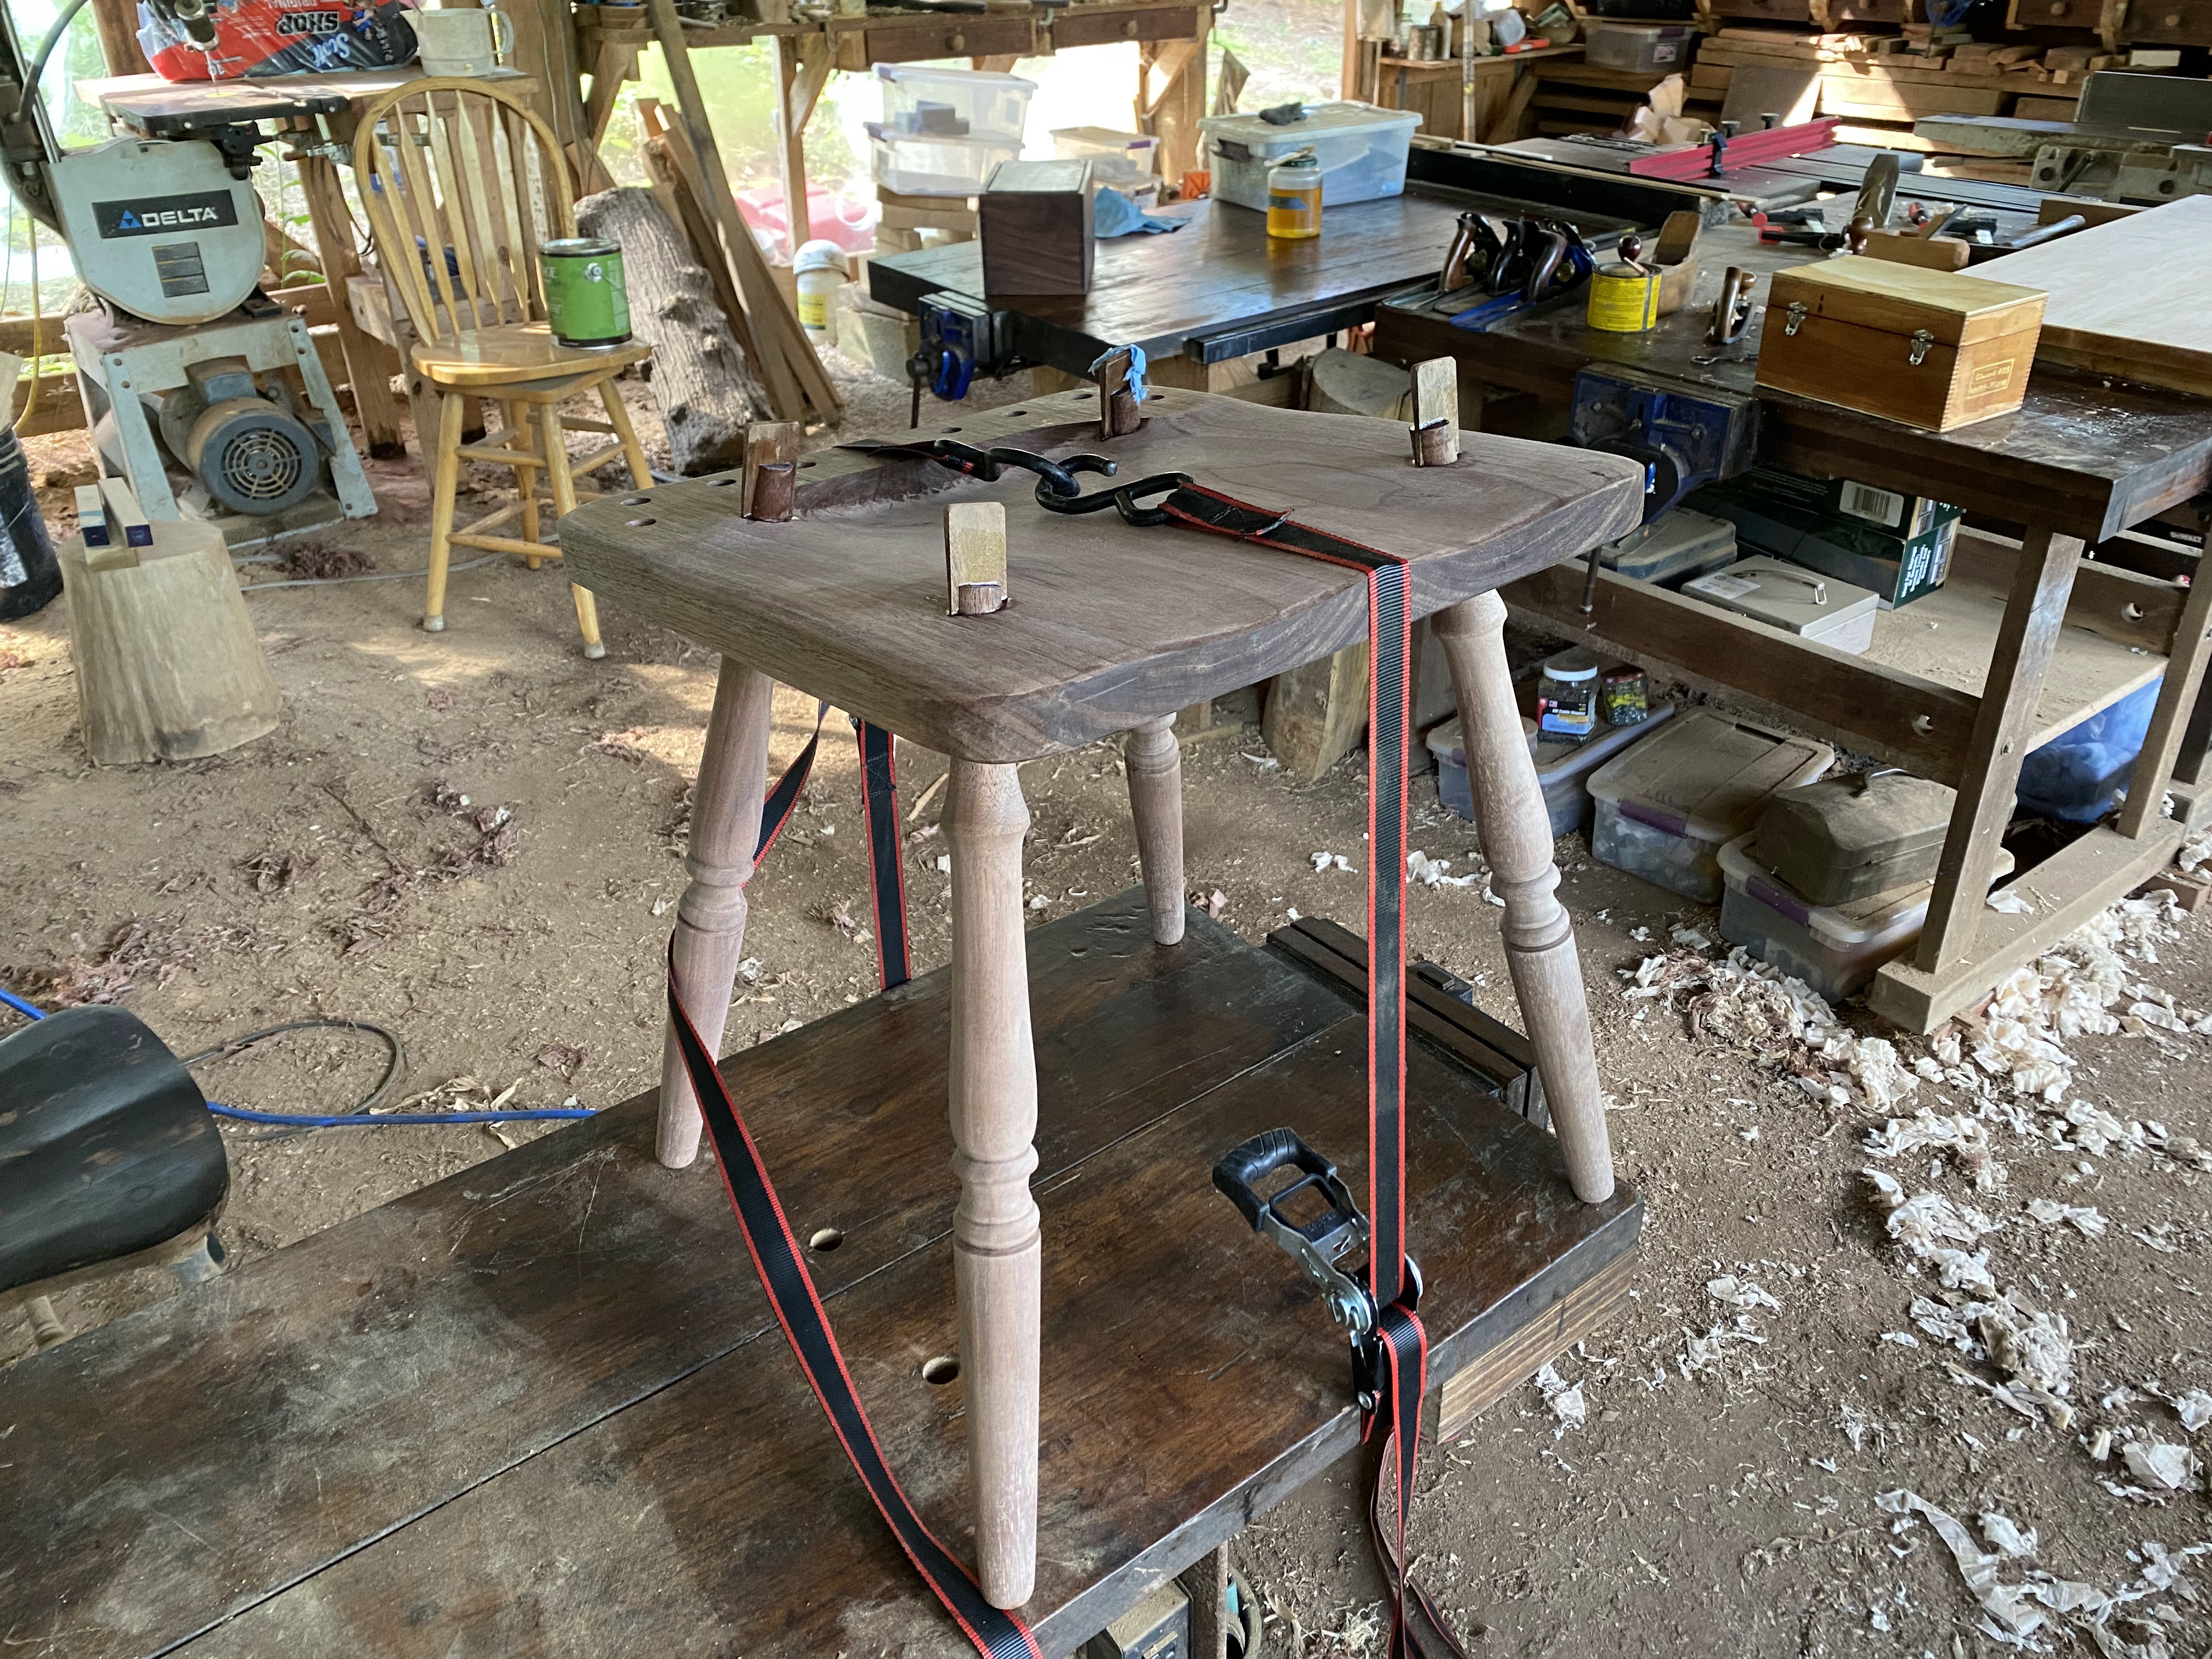
Algene Tarpley made not one, but two stools for his grandson. The legs were riven from green white oak before being turned, then allowed to dry. Before assembly the tenons were re-turned to fit the mortises in the seats. The seats and stretchers were turned from cherry. This project took more than one semester to complete.

I particularly like the way that Algene signed the bottom of the seats.

I love this photo, not because it shows a student’s work, but because it shows a student at work! Here is Ray Schwartz helping his grandson turn a bowl in his home shop. This just warms my heart.
Our newest class member, David, has been turning green bowl blanks and putting them up to dry. I’m sure we’ll be seeing some finished work from him next semester.
This class means so much to me and I am so proud to be able to share some of their work on my website. It just shows me that I need to take more pictures.

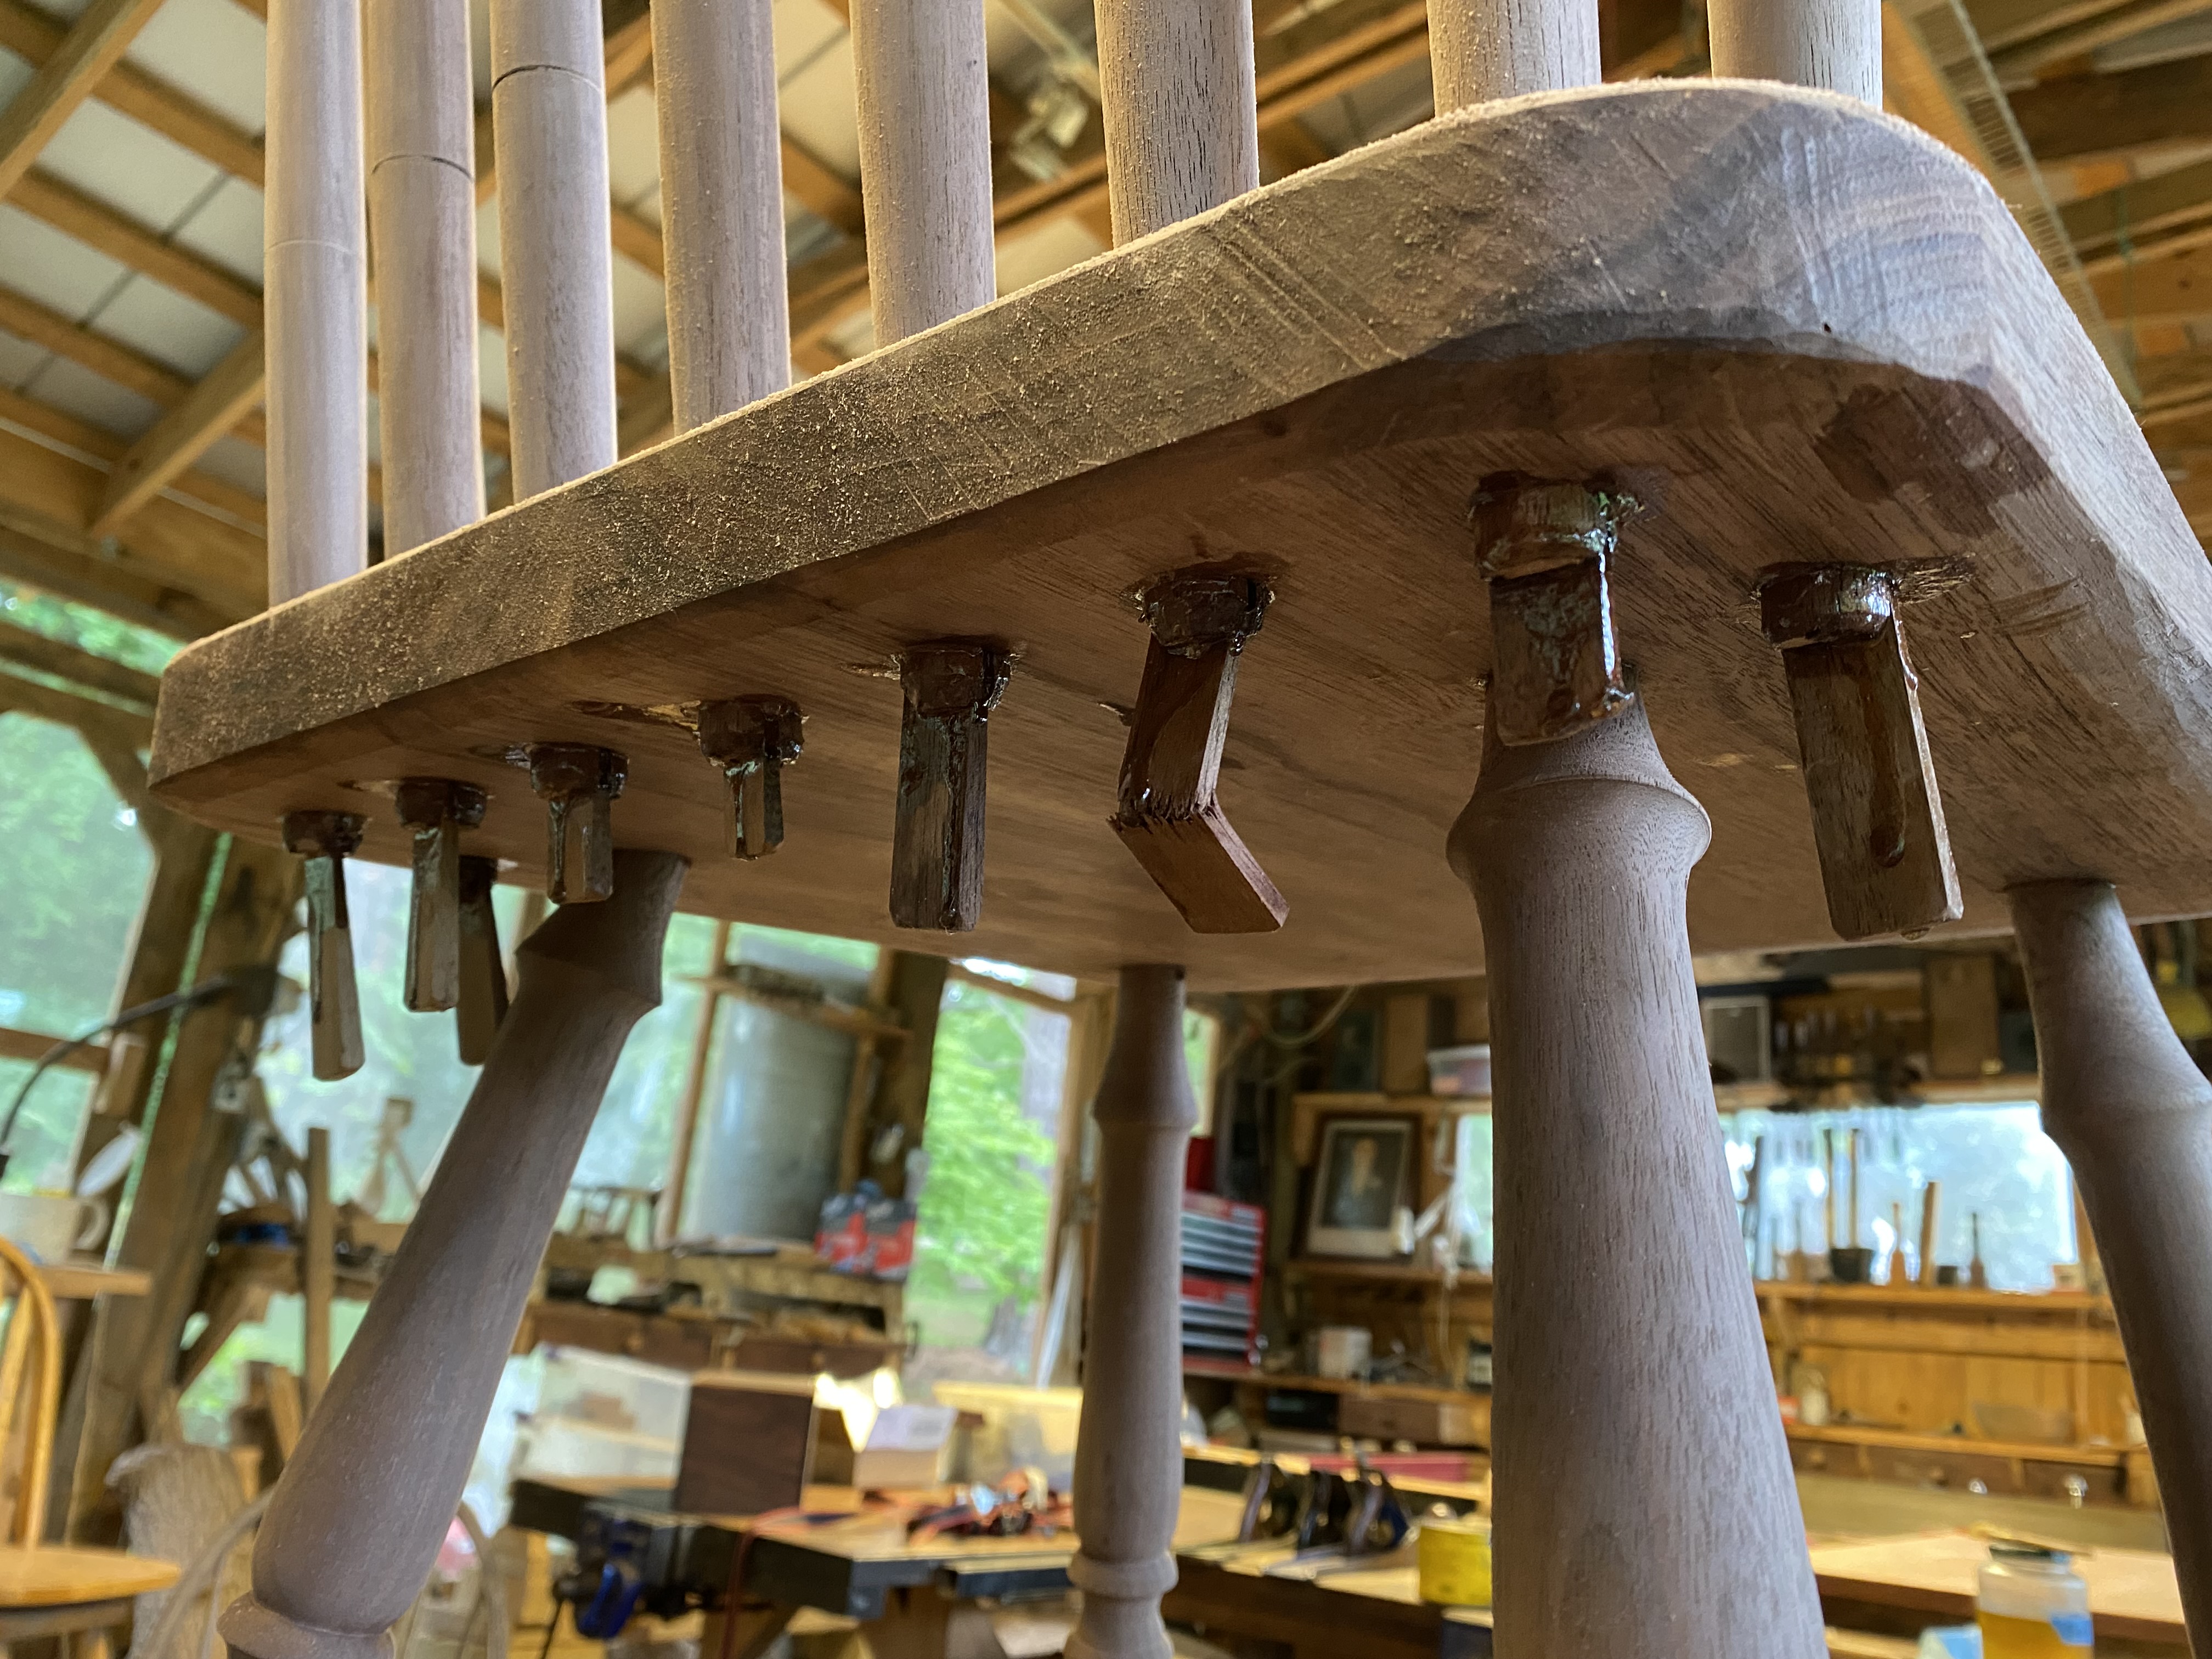
Here is another Windsor chair being glued up. In reverse order is the stool under clamps and glued and wedged, the back spindles glued and wedged into the seat, the crest rail glued and wedged, in this photo you can see that I have washed the glue off the seat where the back spindles go through, and finally the completed chair with one (wet) coat of finish.

I’ll be teaching a class at the Crafts Center at NCSU on Monday nights beginning February 28 on making a small dovetailed box with hand tools. We’ll use a plow (plough) plane to make dadoes (grooves), a dovetail saw and chisels to cut dovetails, a rabbet (rebate) plane to make rabbets, and smoothing planes to finish the box. No sandpaper will be harmed in the making of these boxes.

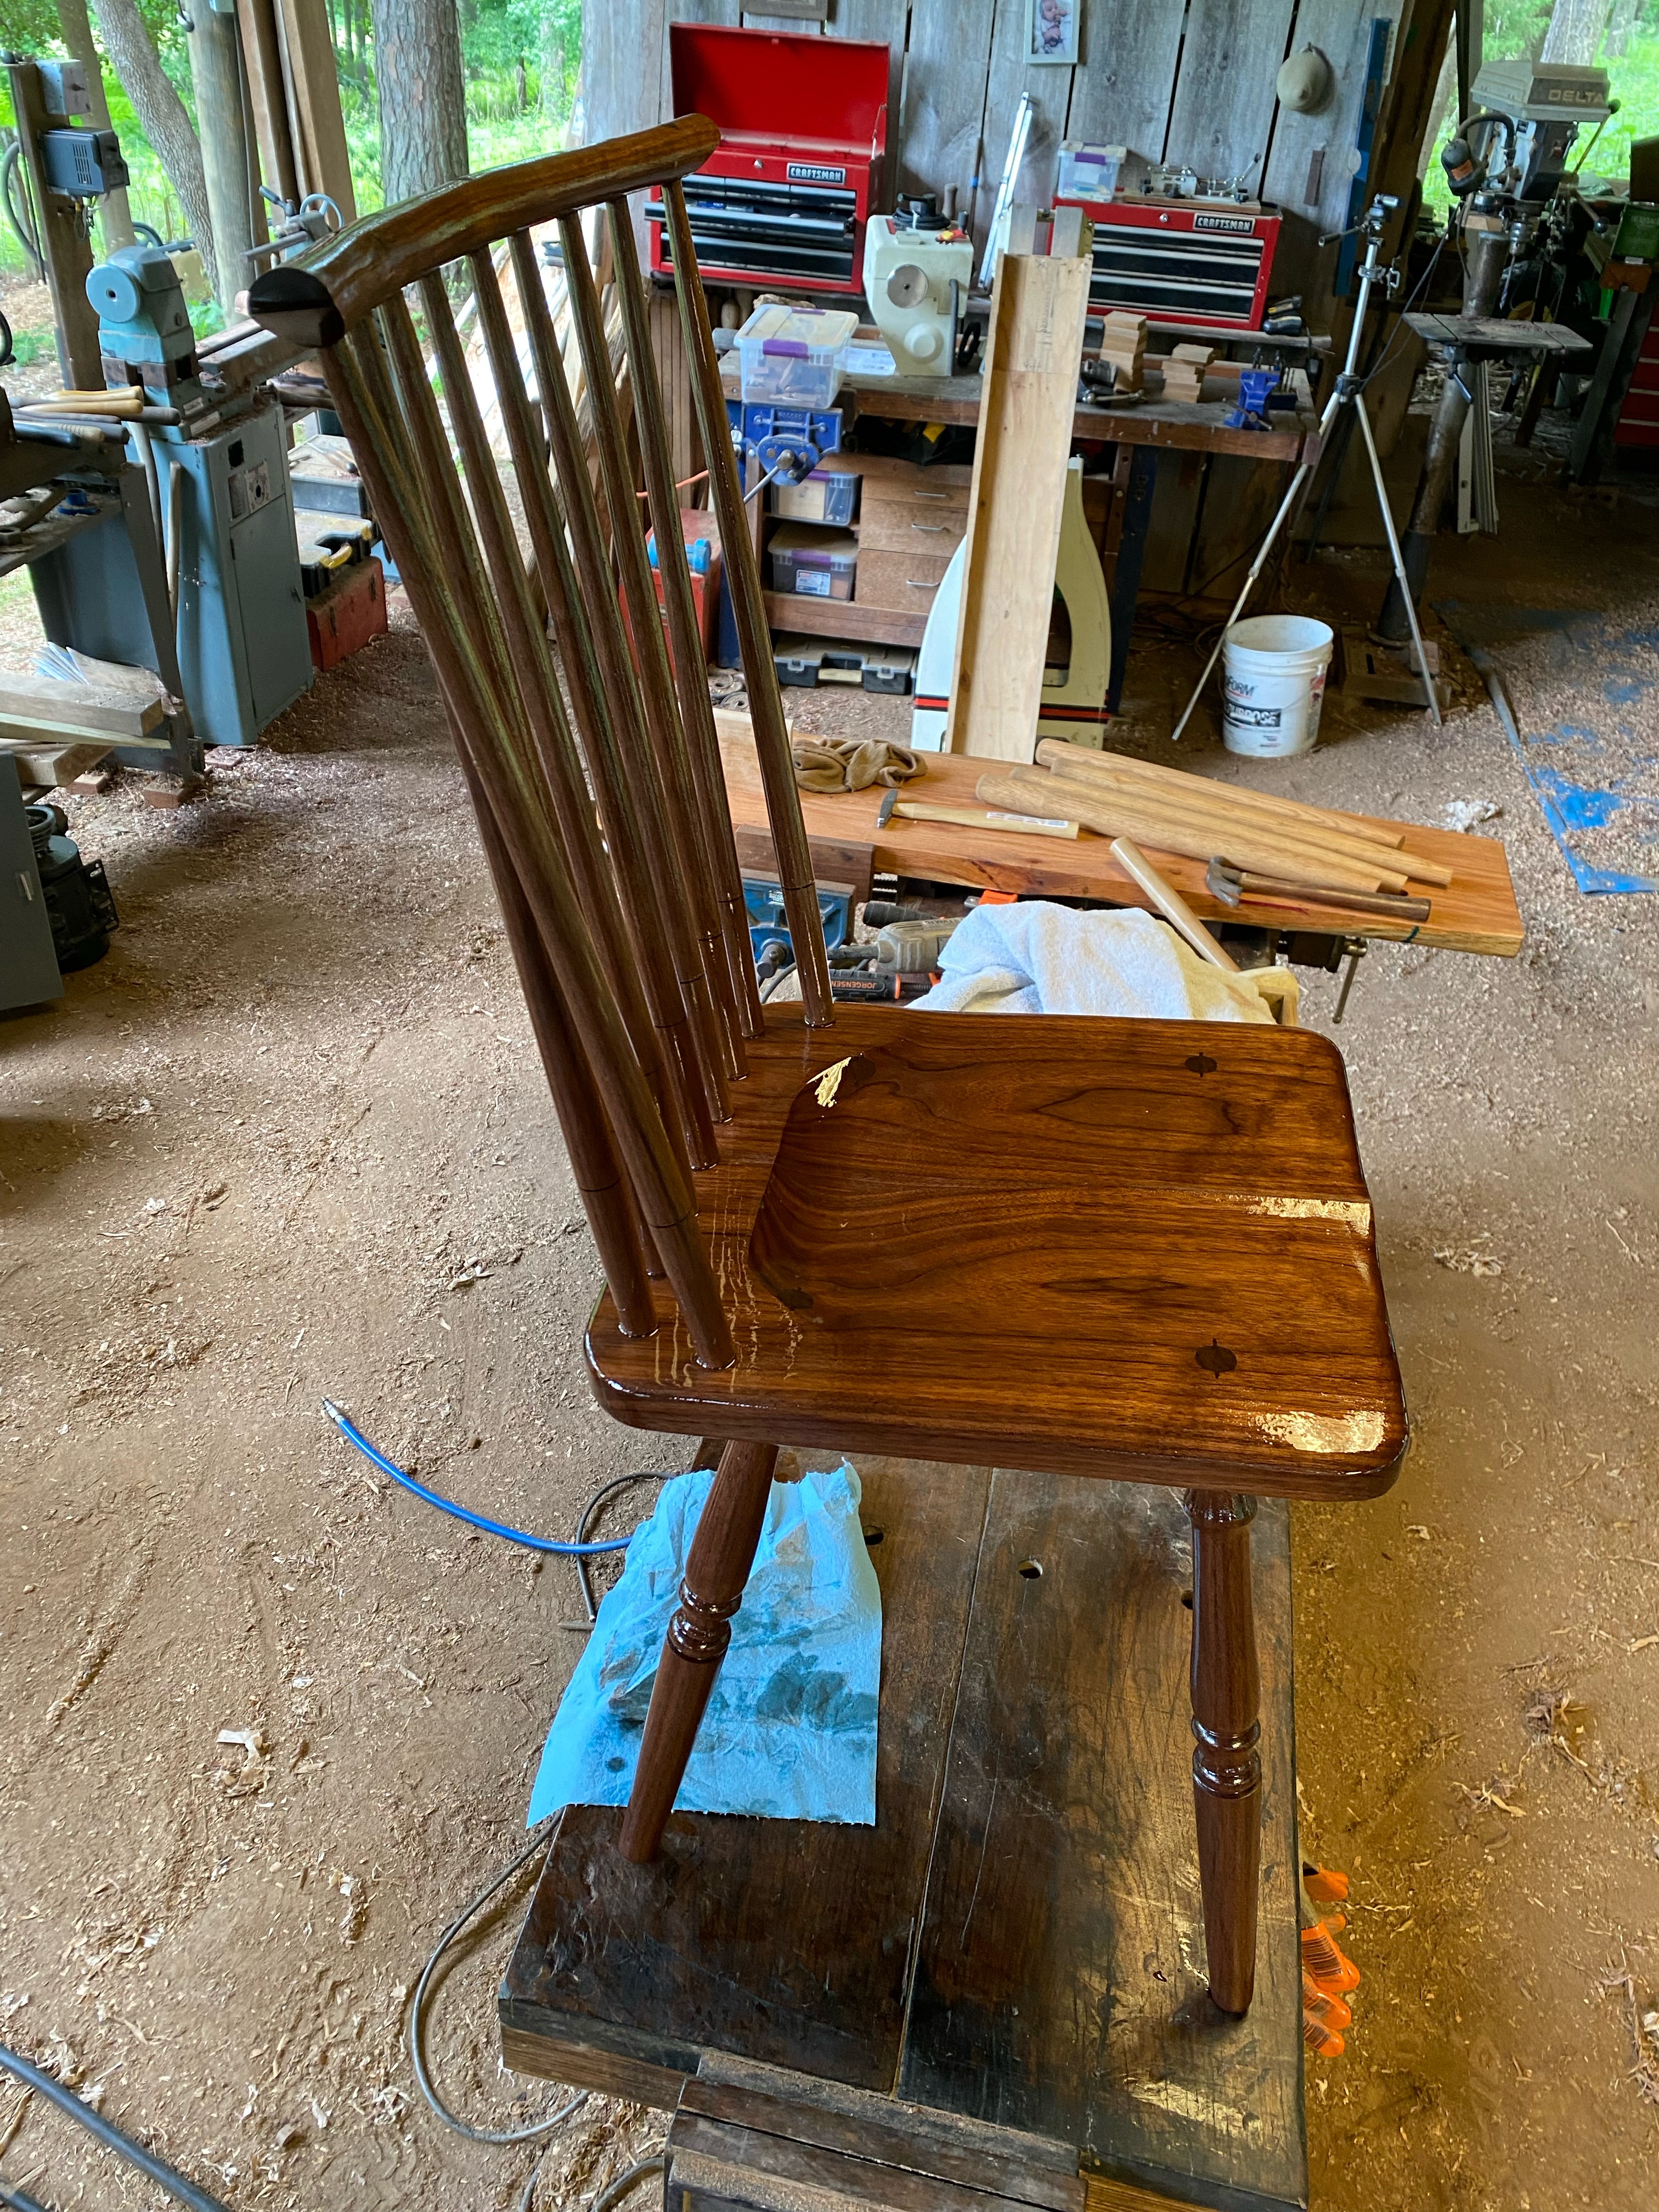
Here’s a new Windsor Chair that I have just completed. Whereas my previous Windsors had plank seats, this time I hand carved a saddled seat. The white oak for this chair grew on my farm and was turned green, dried, then the tenons were re-turned. The crest rail was steam bent. The seat is made from a board that was kiln dried, purchased from the Hardwood Store in Gibsonville, N.C. All of the joinery is through wedged mortise and tenon with tapered tenons used to join the legs to the seat. Wedges are Walnut
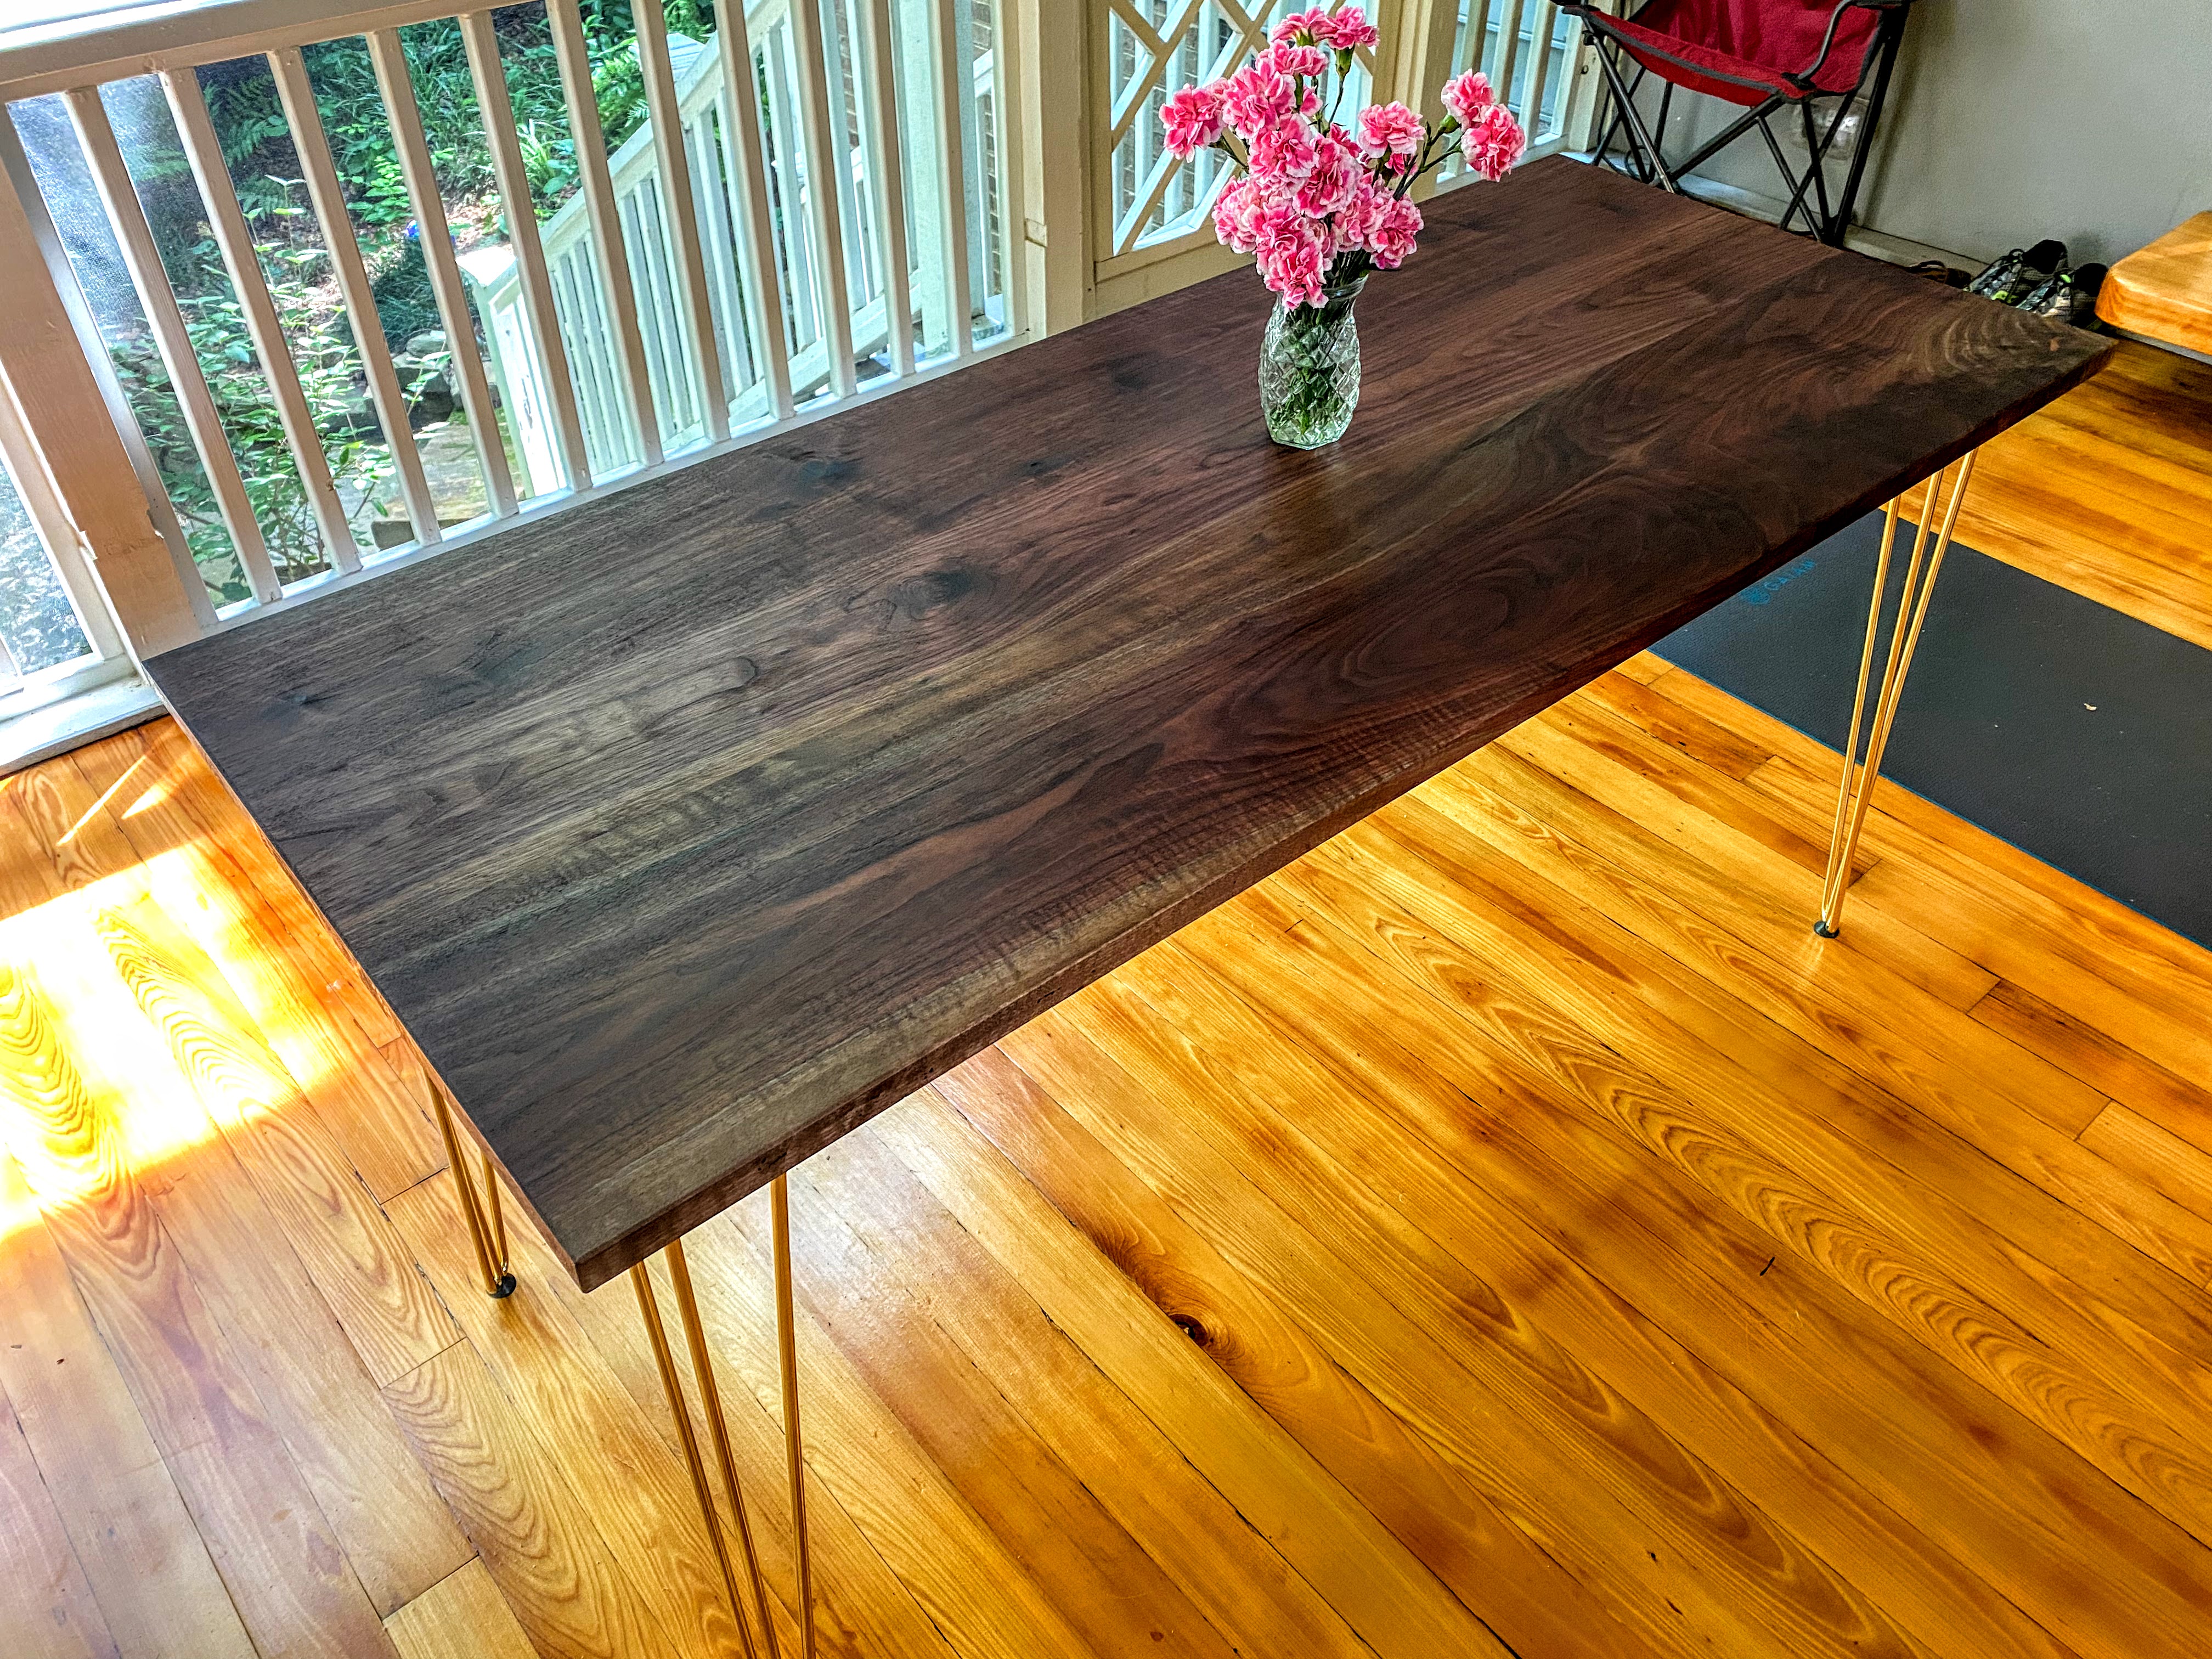
Reading James Krenov as a beginning woodworker I was impressed by his conviction that a wood surface that has been cleanly cut by a blade reflects light in a completely different way than one that has been sanded no matter how finely. Here are two tables that I completed recently. No sandpaper was harmed in the making of these tables. The wood is some highly figured Walnut.
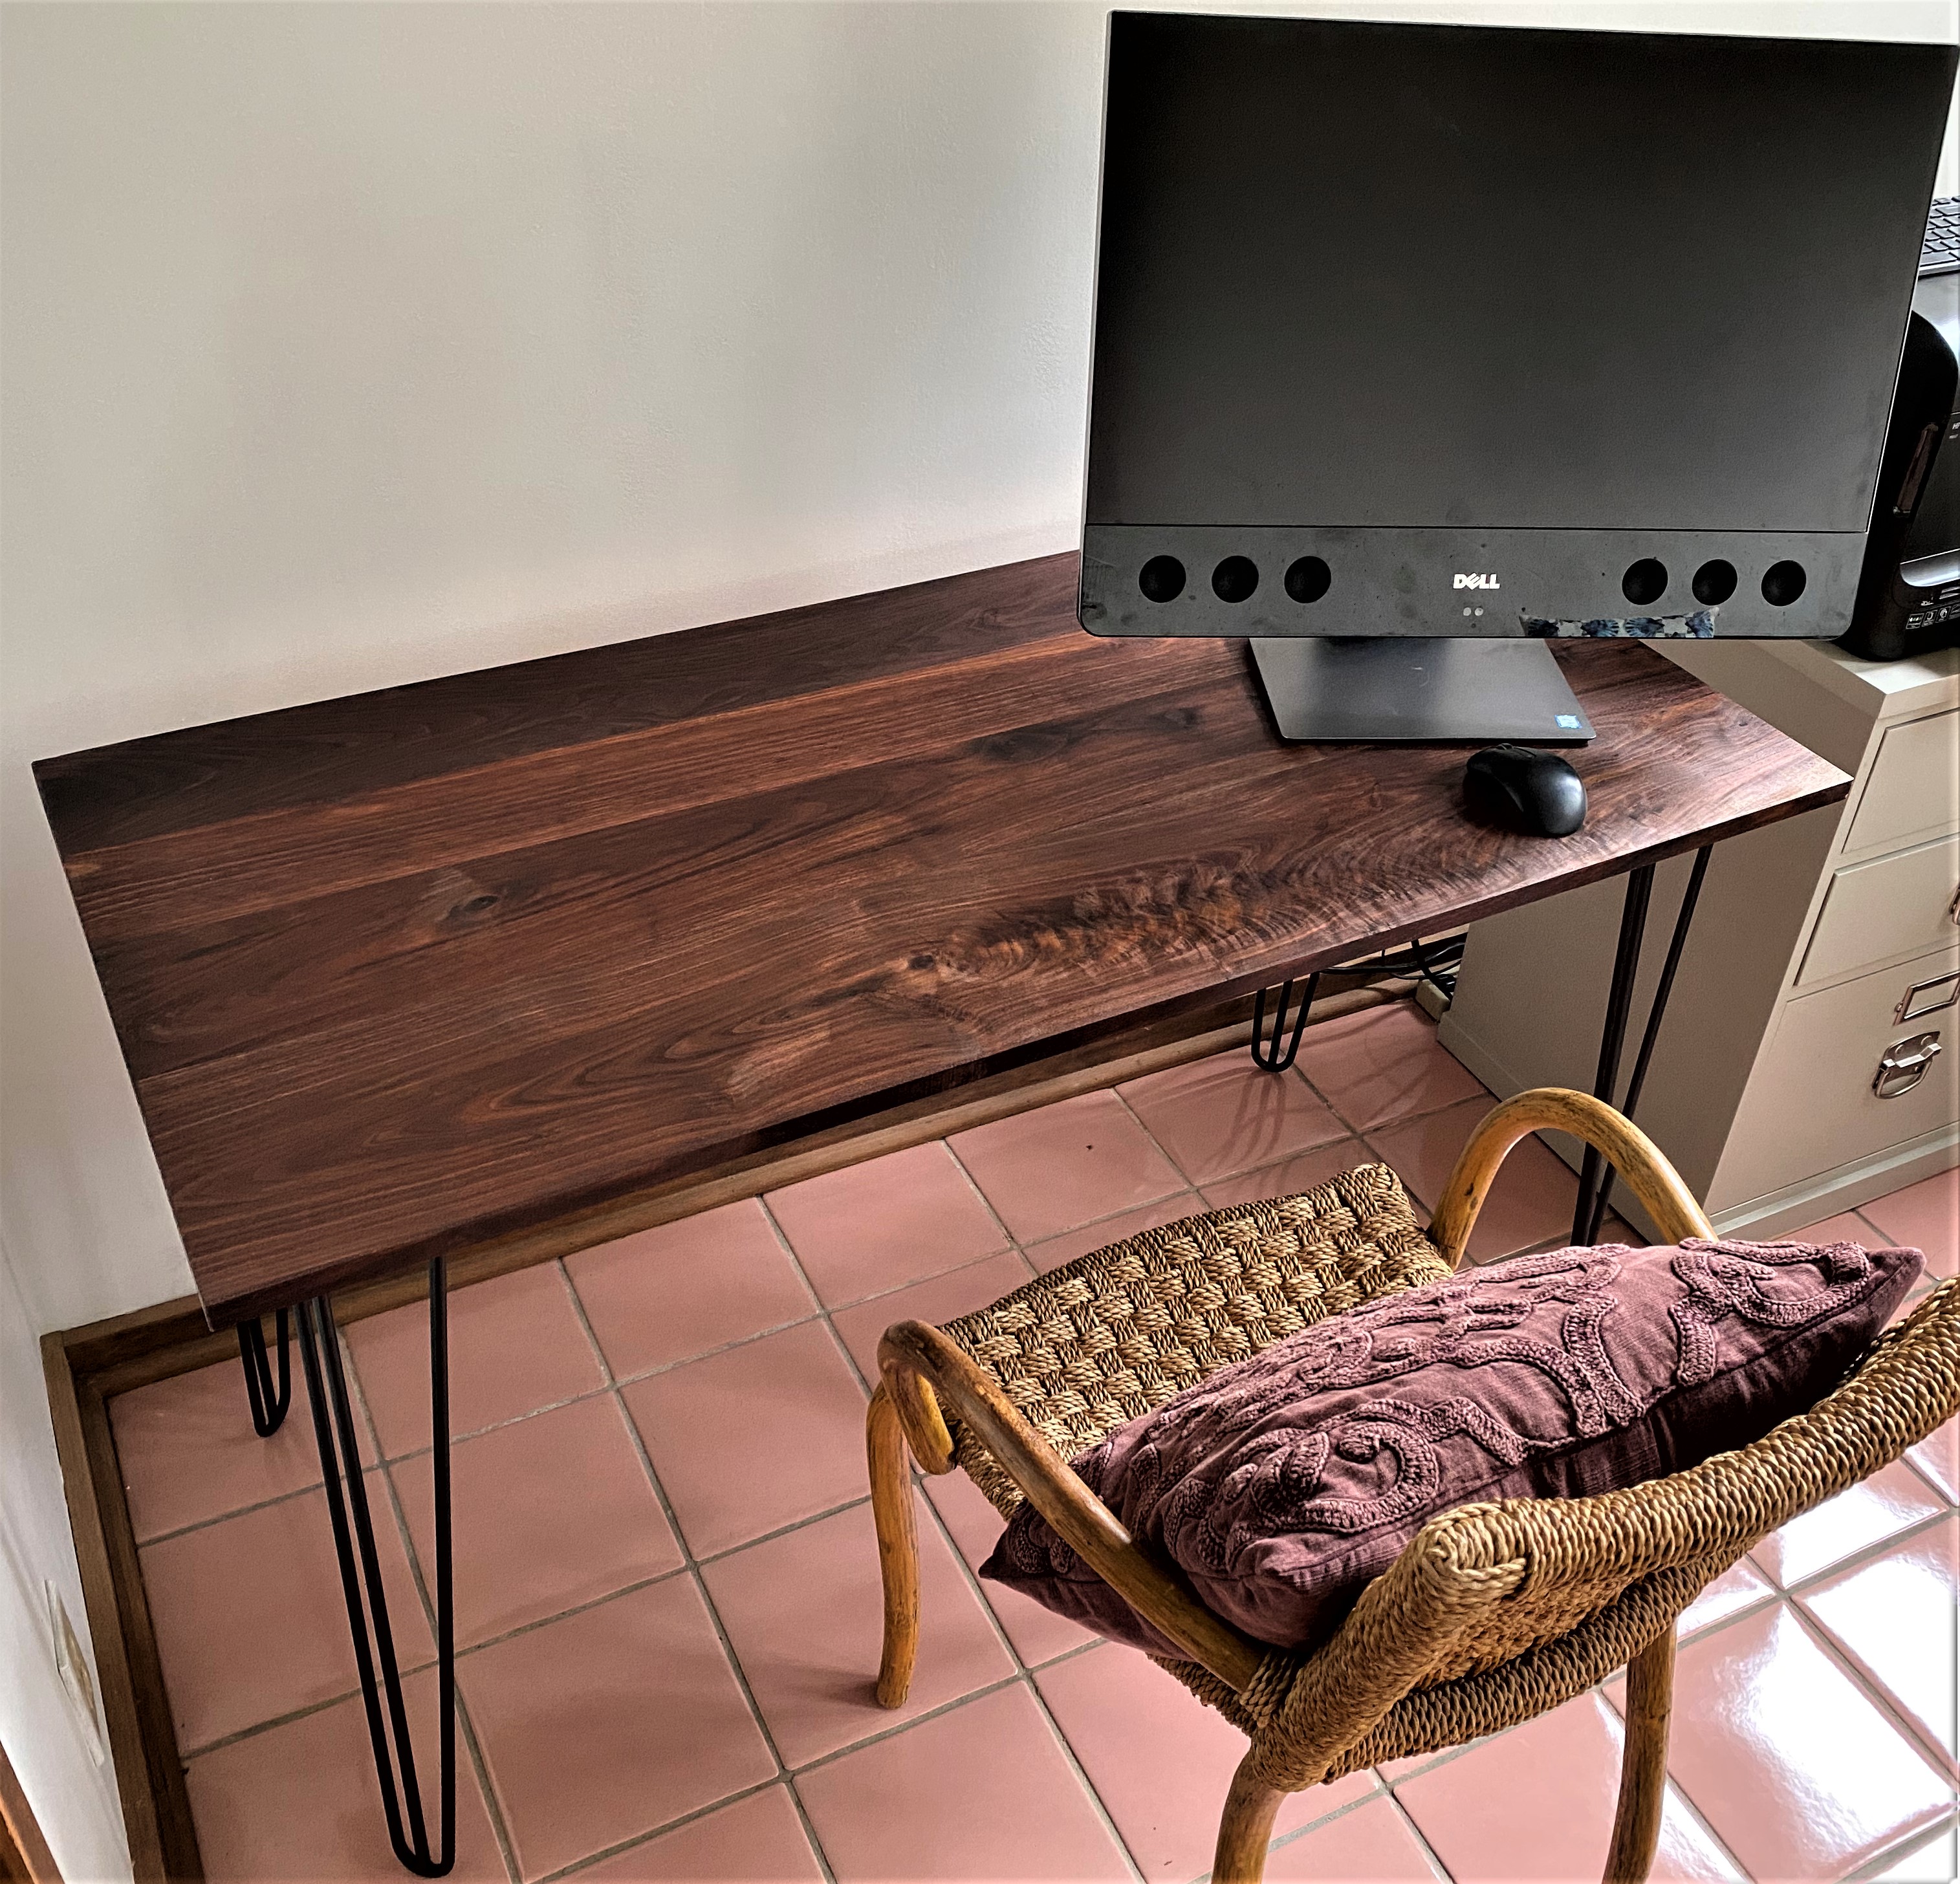
This is a desk for my wife, Nancy. She wanted the simplest table possible and selected these hairpin legs to complement the top that I made.

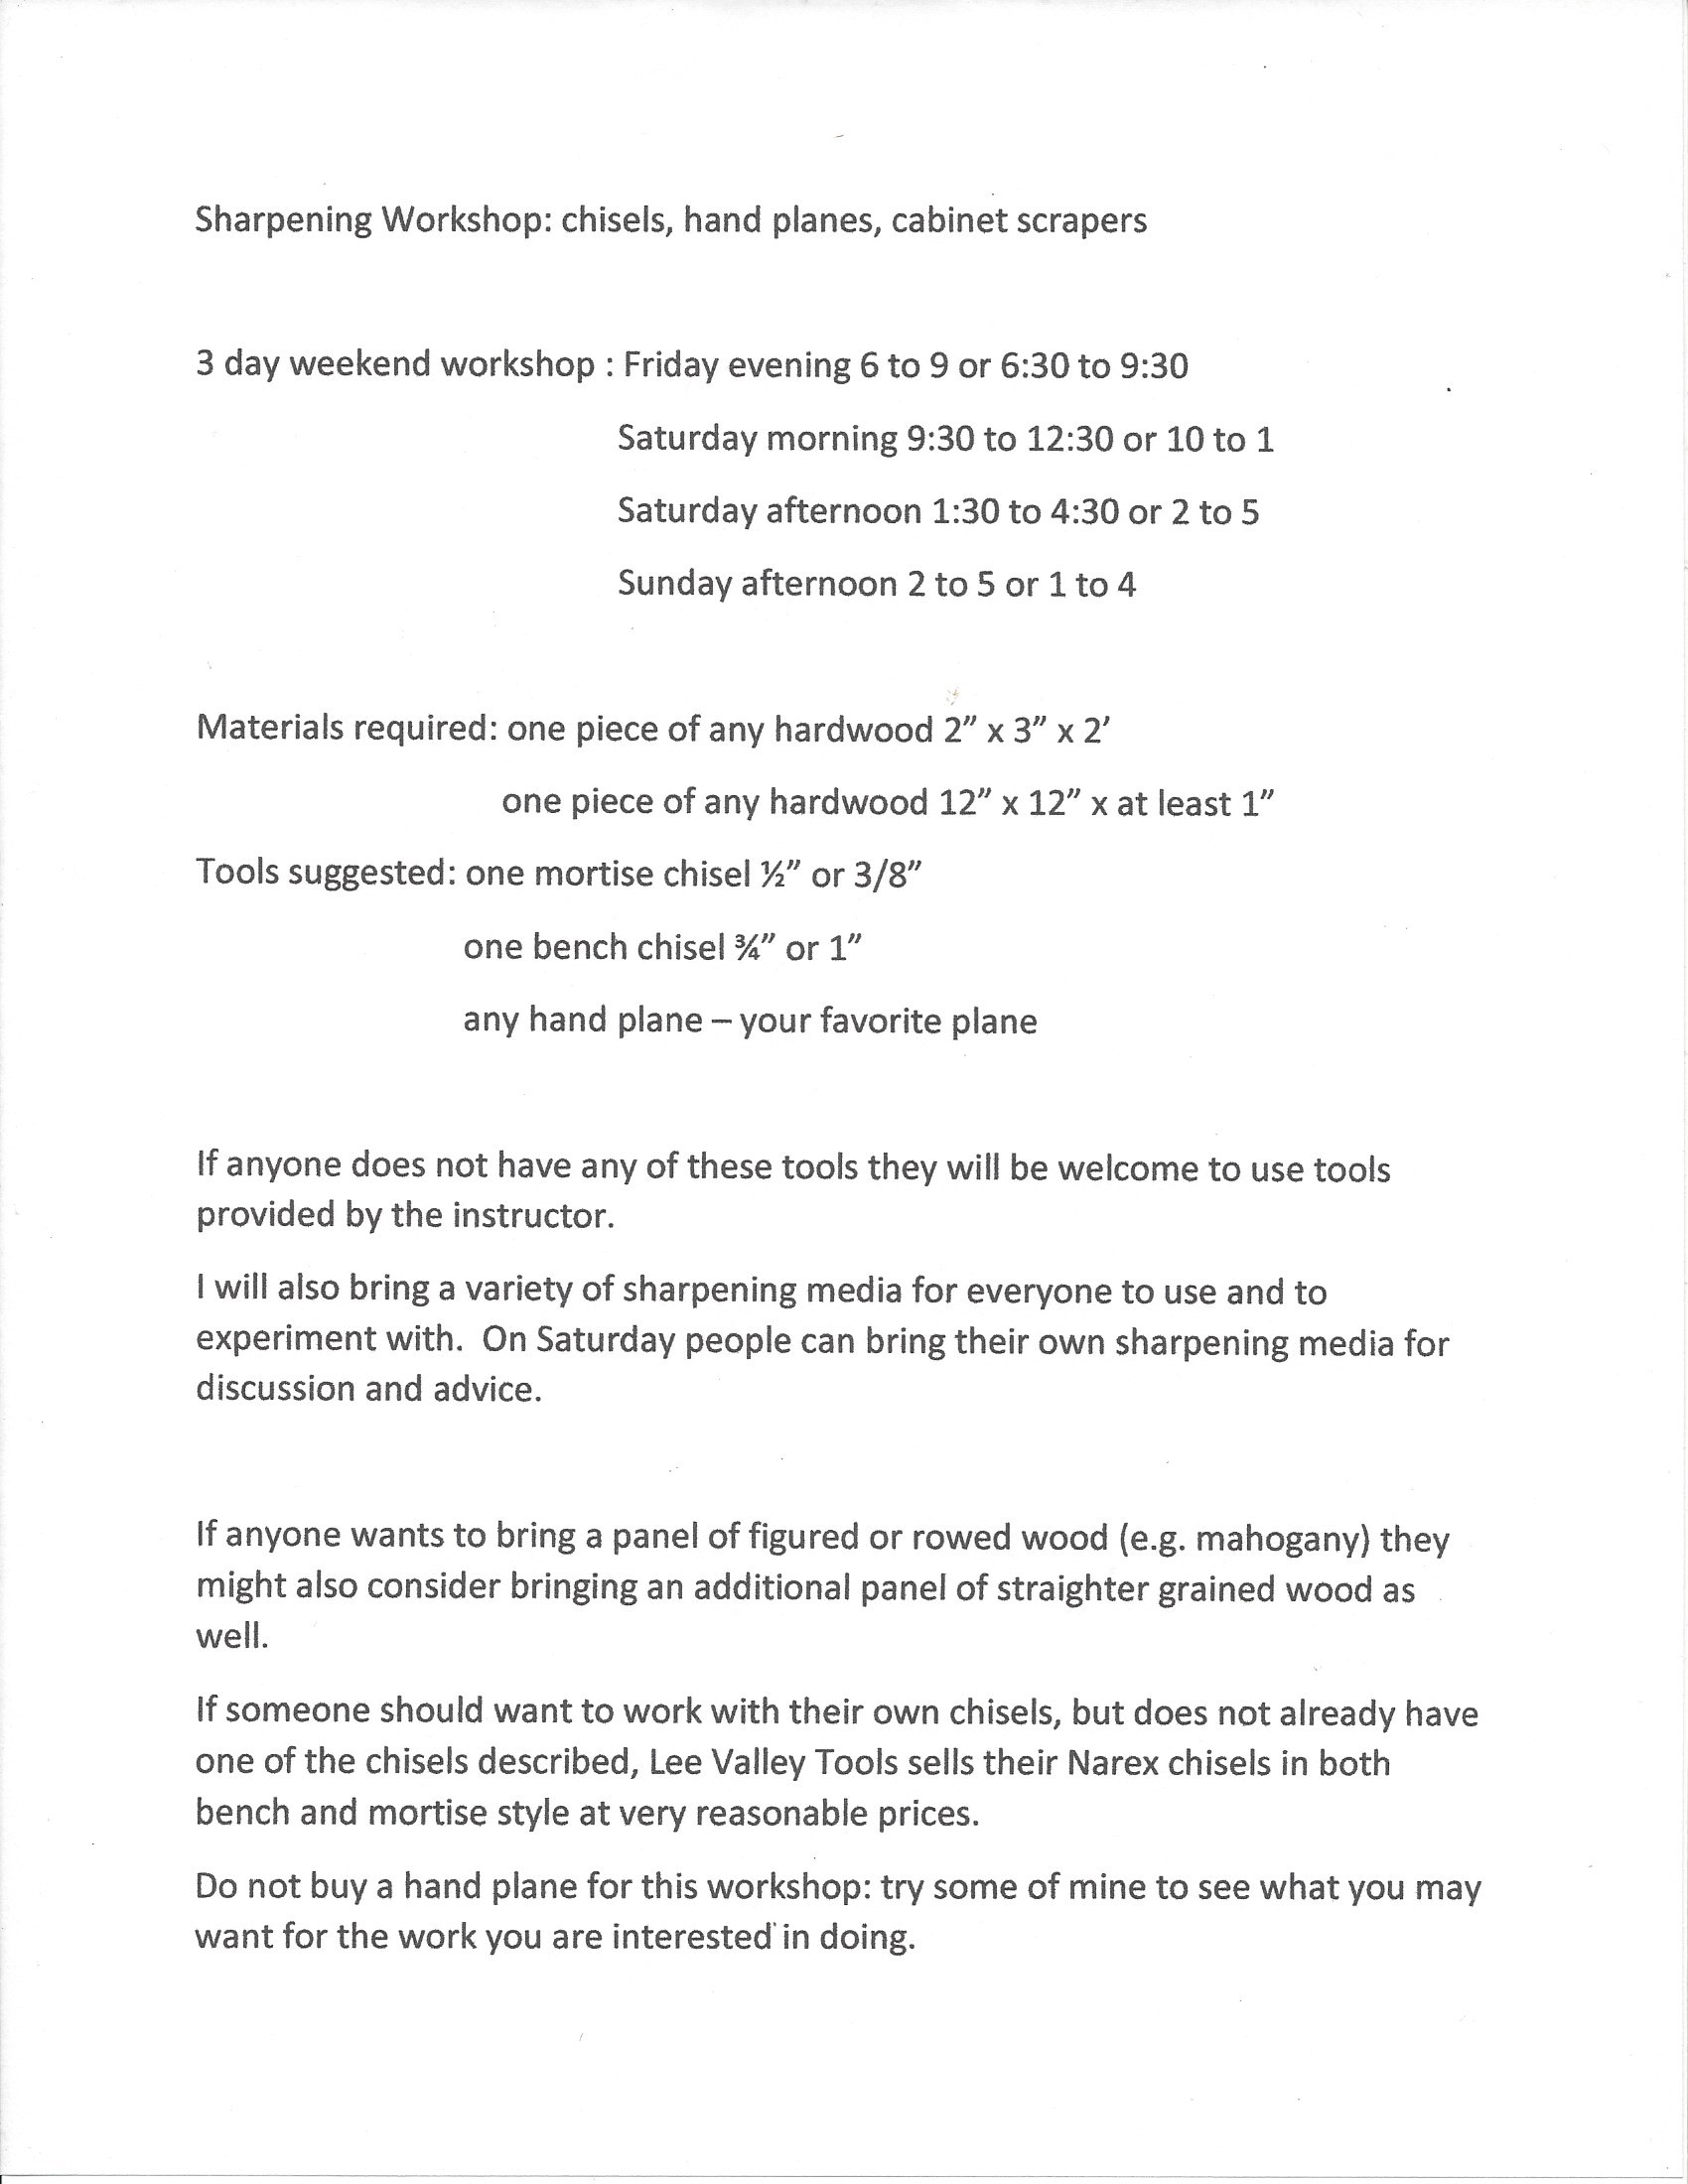
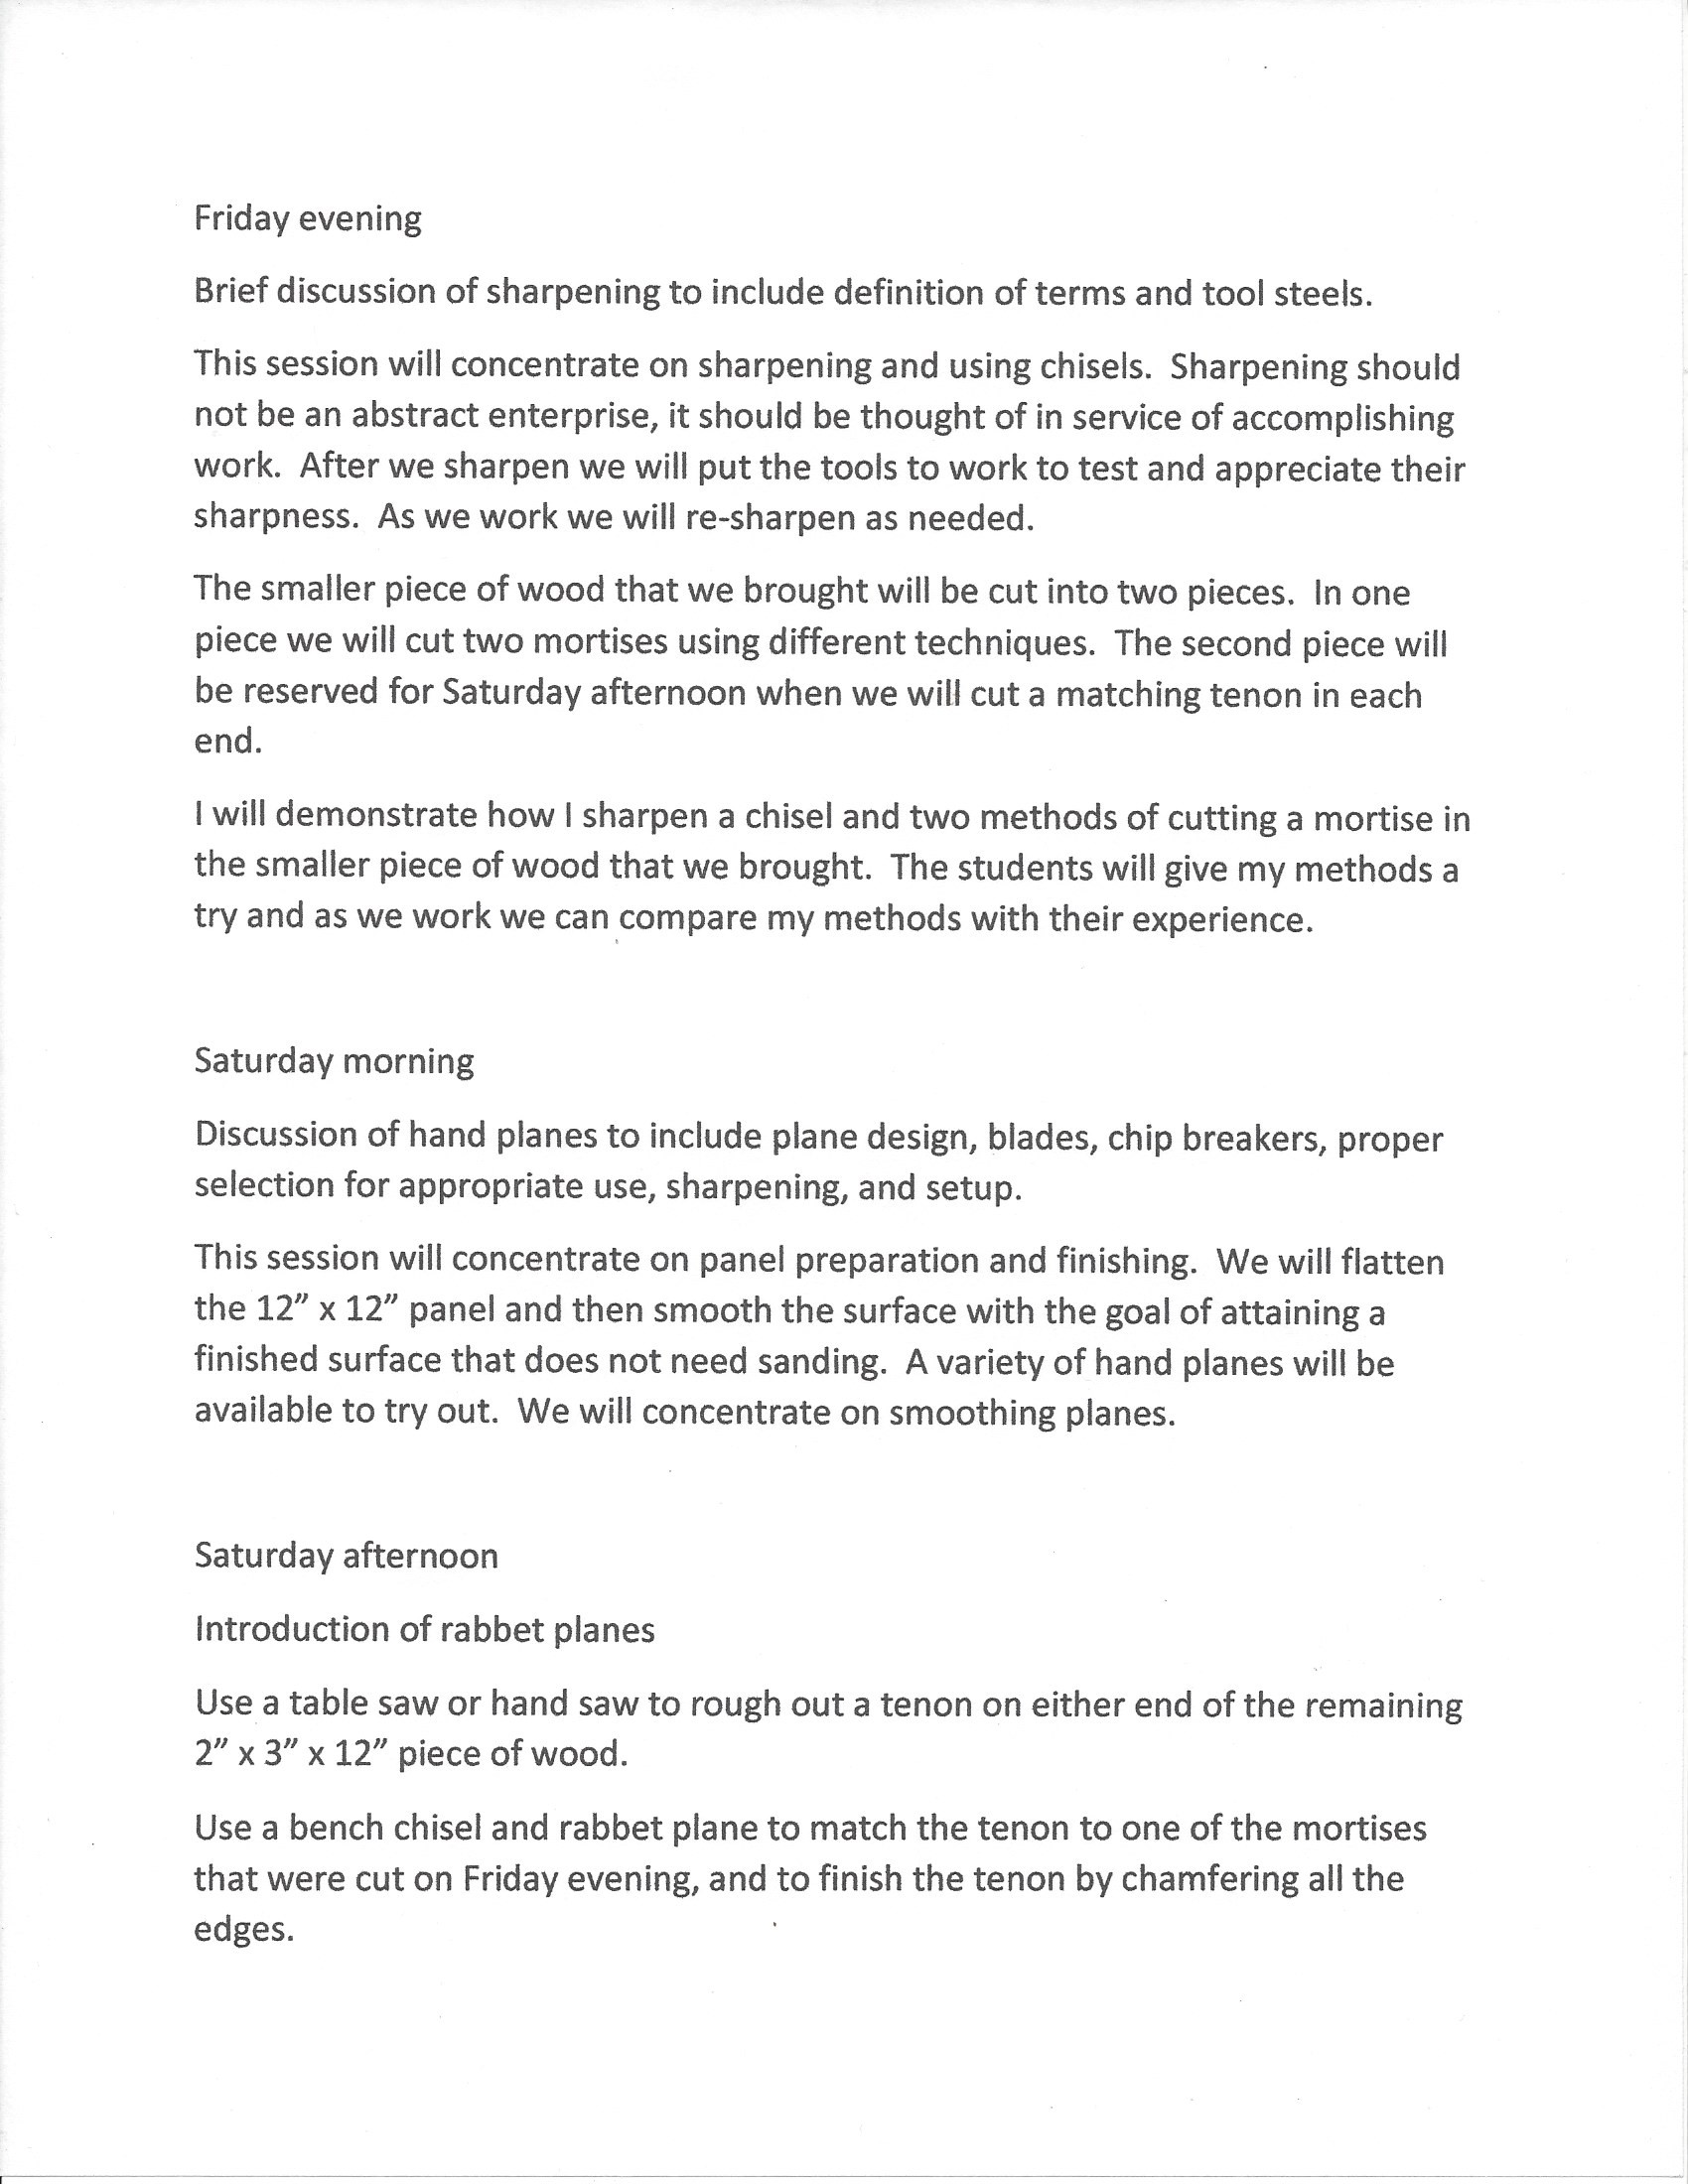
On January 28, 29, and 30 I will be offering a woodworking workshop focusing on the sharpening and use of chisels and handplanes at the Crafts Center at North Carolina State University.
Sharpening is what I would call a foundational skill in wood working. Sharp tools are essential to any type of hand work, but sharpening is not an end in itself. We will sharpen the tools and then put them to work and re-sharpen as necessary. We will explore several ways to sharpen chisels and hand planes and flatten and smooth a hardwood panel which we will finish as a small cutting board.
Below is the prospectus for this class that I submitted to John when we planned this class for the Fall semester. It should give some idea of what to expect, although we will probably concentrate more on tuning and using hand planes.