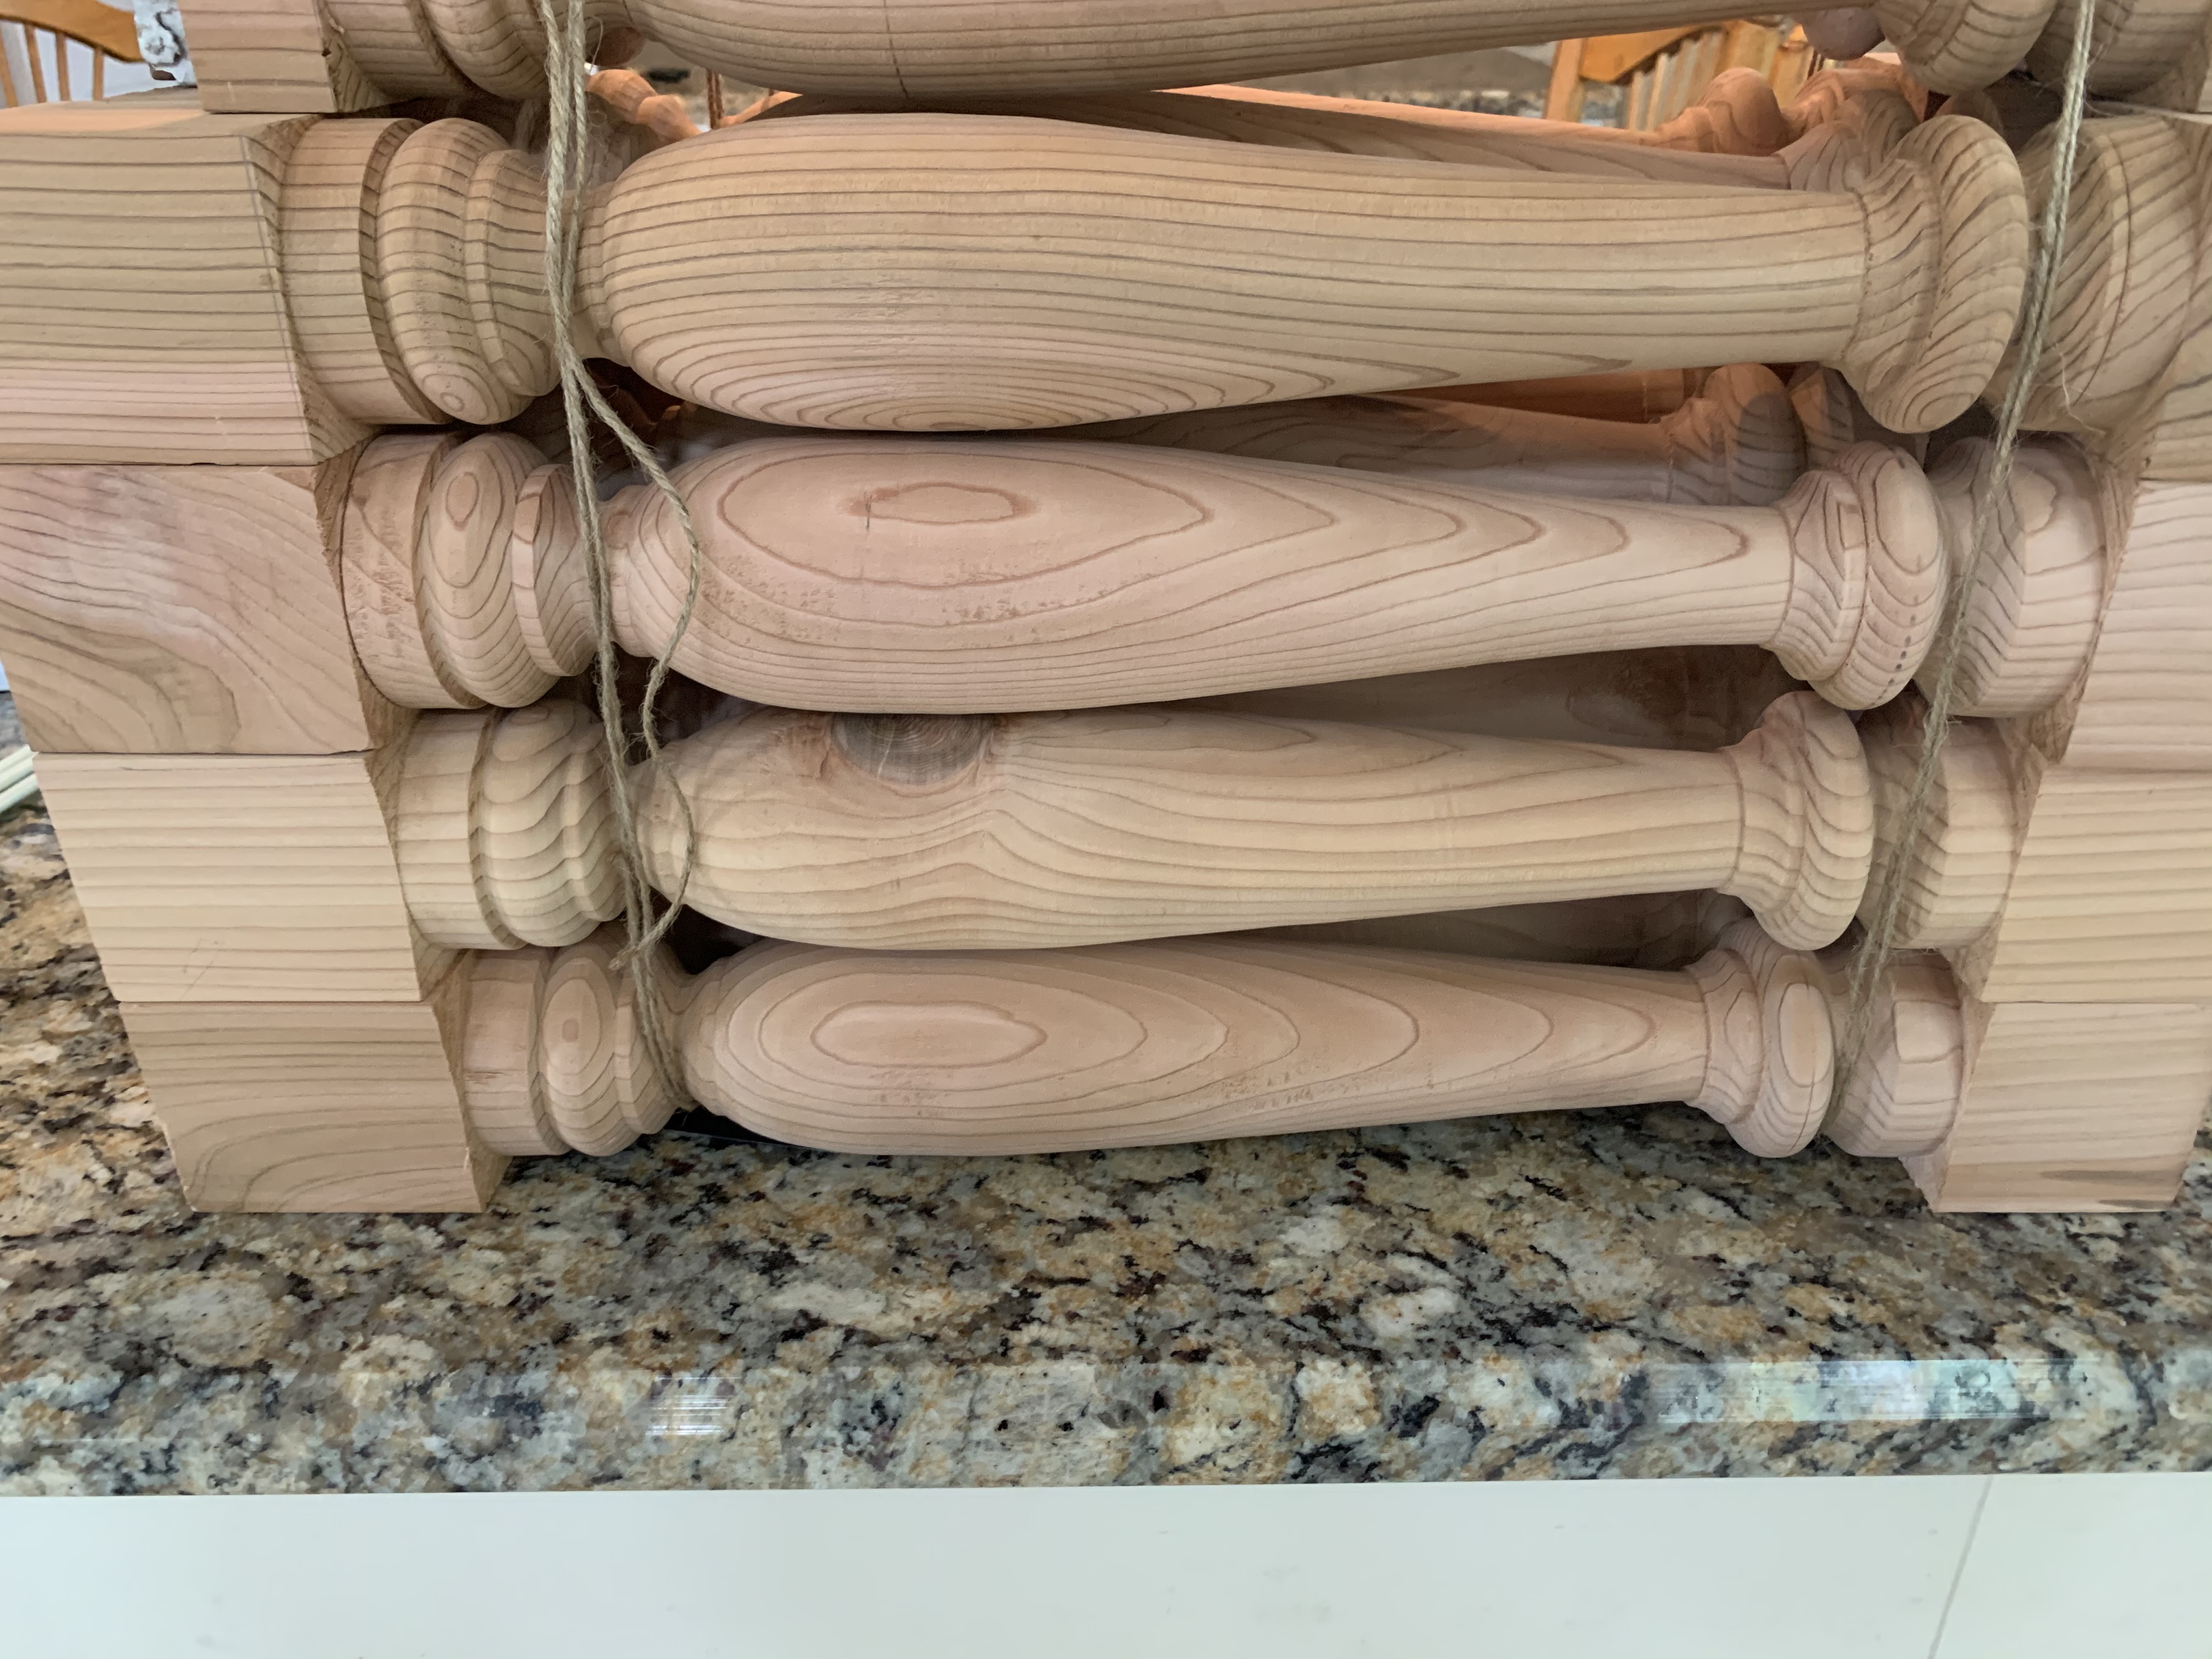
A dozen porch balusters turned by Ray Schwartz in Western Red Cedar.
My friend and student at Alamance Community College, Ray Schwartz, has completed his project turning balusters for a home restoration. While working on this project, Ray mentioned that he had some trouble using the parting tool and roughing out gouge while making the cylinder between the square ends. He was working in Western Red Cedar which has a tendency to split under any circumstances, but which is fairly weather resistant making it a good choice for porch balusters. I made this video to give him some ideas on approaching these problems with different woods. I was using ash, a wood that presents different problems than cedar, but which is also challenging at times. Ray found that putting masking tape on the square before turning helped keep from breaking the corners off.
Techniques for using the parting tool, roughing out gouge, and skew chisel to make a cylinder between two square shoulders.
Two red oak balusters and the layout tools used to make them along with a photo of one of the originals,
One of my students has accepted a commission to make several replacement balusters for the restoration of an historic home. This video shows how to lay out a spindle turning that will be duplicated a number of times and then shows the process of turning one of the spindles.
Here’s a little push toy I made for my grand daughter’s first birthday tomorrow. The body of the chicken is Walnut, the egg and wheels are Maple, and the axles are Persimmon. The egg is captured in the body. Once she is walking more than a few steps at a time I’ll tie a ribbon around the neck and it can be a pull toy. Here’s a short video of the chicken in action.
New Dates: June 8, 6:30 to 9:30 pm, June 9, 10 am to 5 pm, and June 10, 10 to 5. I believe you can register now at the link below.
I’ll be offering a workshop at the North Carolina State University Crafts Center. We’ll be making a salad bowl and a serving set (fork and spoon) from green maple blanks. At present there is still an opening in this class. To register you can click here: https://crafts.arts.ncsu.edu
Here’s a short preview of the workshop.
This is a longer video showing the turning of the first bowl from the tree that was cut for this workshop.
Around the time that I began as a woodworker I read The Fine Art of Cabinetmaking by James Krenov. His discussion of sensitivity to the material and to the work itself struck a chord with me. He felt strongly that using hand tools reinforced and enhanced this sensitivity. He also suggested that wood that has been cleanly cut with a sharp blade reflects light in a completely different (and superior) way to wood that has been sanded, no matter how finely. Last year Ed Brown and his daughter Elisabeth spent a week in my shop with me. Ed built a small windsor bench and Elisabeth started a three legged stool which I hope she’ll come finish one day. Ed brought me several Krenov books as a present which I’ve been reading on cold days this winter when it has been uncomfortable in my shop.
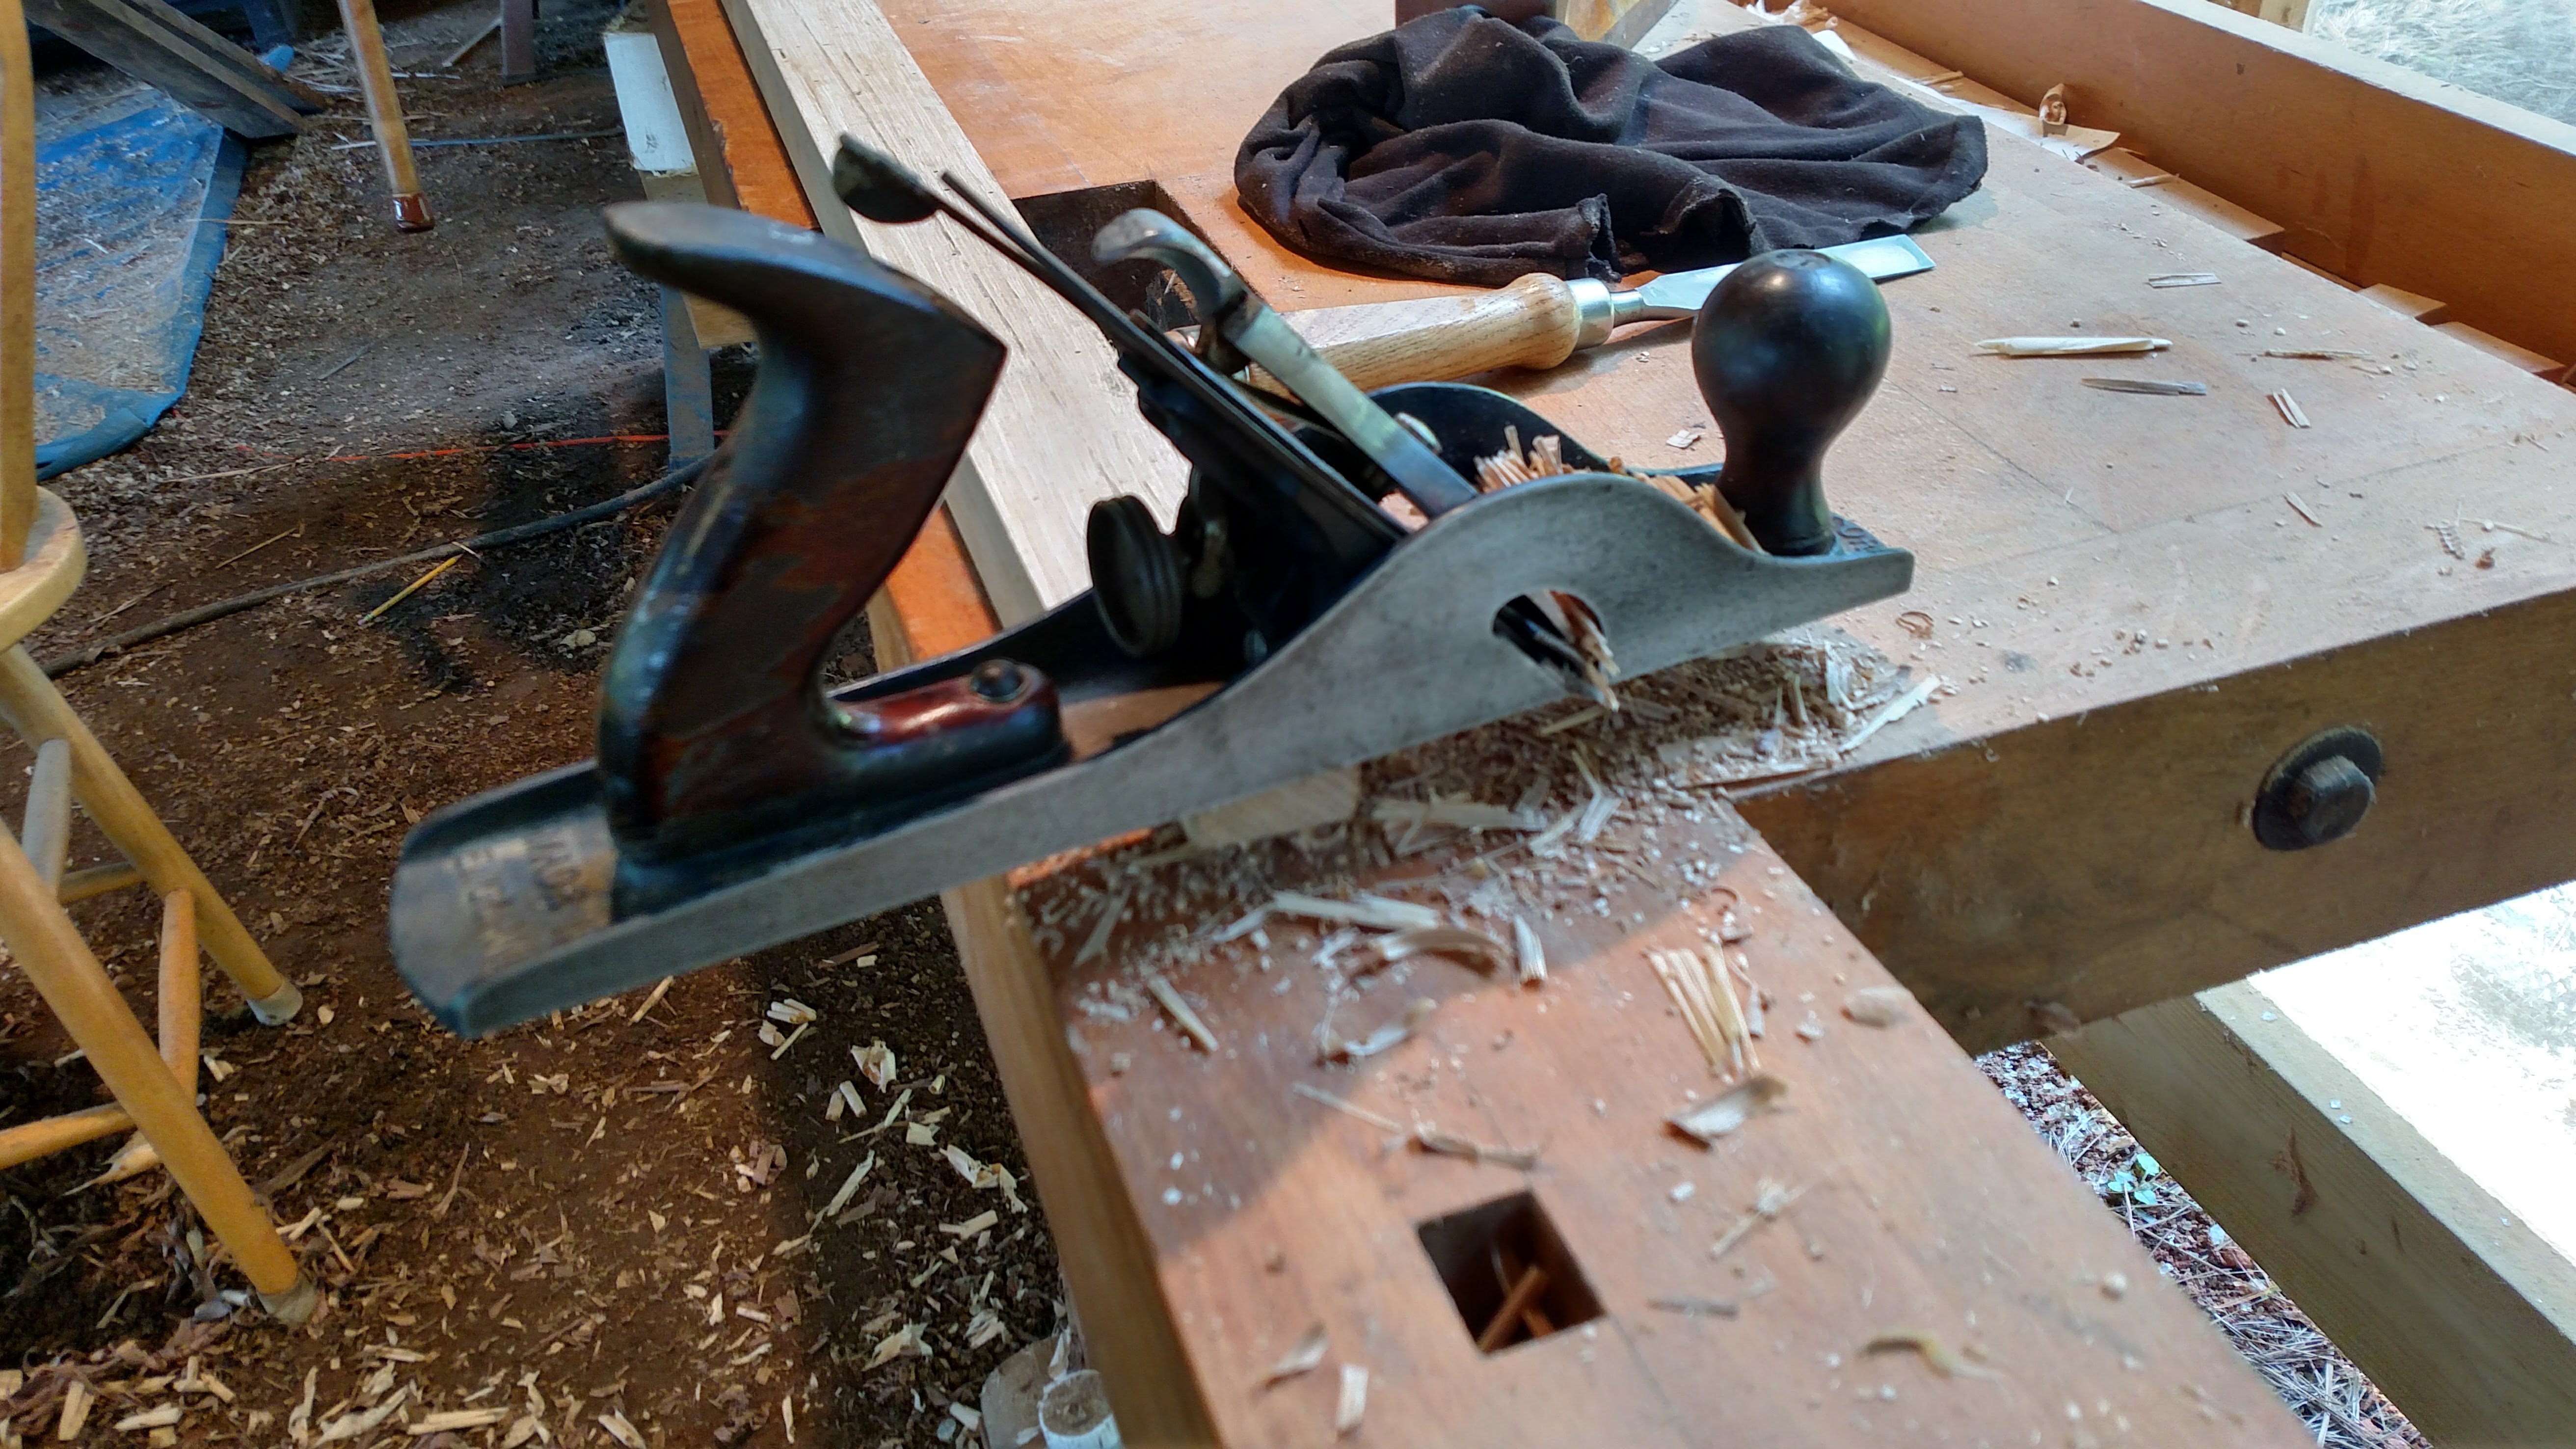
Krenov made his own wooden hand planes. He loved the sensation of working with them; both the sharp blade cutting the wood cleanly, and the wooden sole sliding smoothly over the work. I’ve been using planes for 40 years, but I’ve used mostly metal planes. You can see some of my planes in use in some of my other posts. My favorite plane is a Record #10 rabbet (rebate) plane that I used to make most of the joints in timber framing my house. I love it because using it taught me a lot about adjusting and sharpening planes, and because it did so much valuable work for me. It’s a perfect size for me and is beautifully balanced; a joy to use. In fact, I’ve sharpened it so often that I am pretty close to needing to buy a new blade for it. Here it is adjusting a tenon recently.
Re-reading Krenov made me want to make a small smoothing plane in his design. This is easily done, as he gives pretty good directions in his books, and even more detailed descriptions are provided along with excellent two-piece blades by Ron Hock (http://www.hocktools.com/). I decided to use a 1 1/4″ wide blade – smaller than any other plane I have – to use for making very clean cuts in problem areas where I probably resort to a cabinet scraper now. Ron Hock makes a kit that supplies all the parts for this plane cut in exotic hardwoods in case you don’t want to start from scratch. I made my plane from an especially dense piece of walnut with some red oak for the sides. Here are some photos of the construction of the plane according to the Krenov and Hock directions.
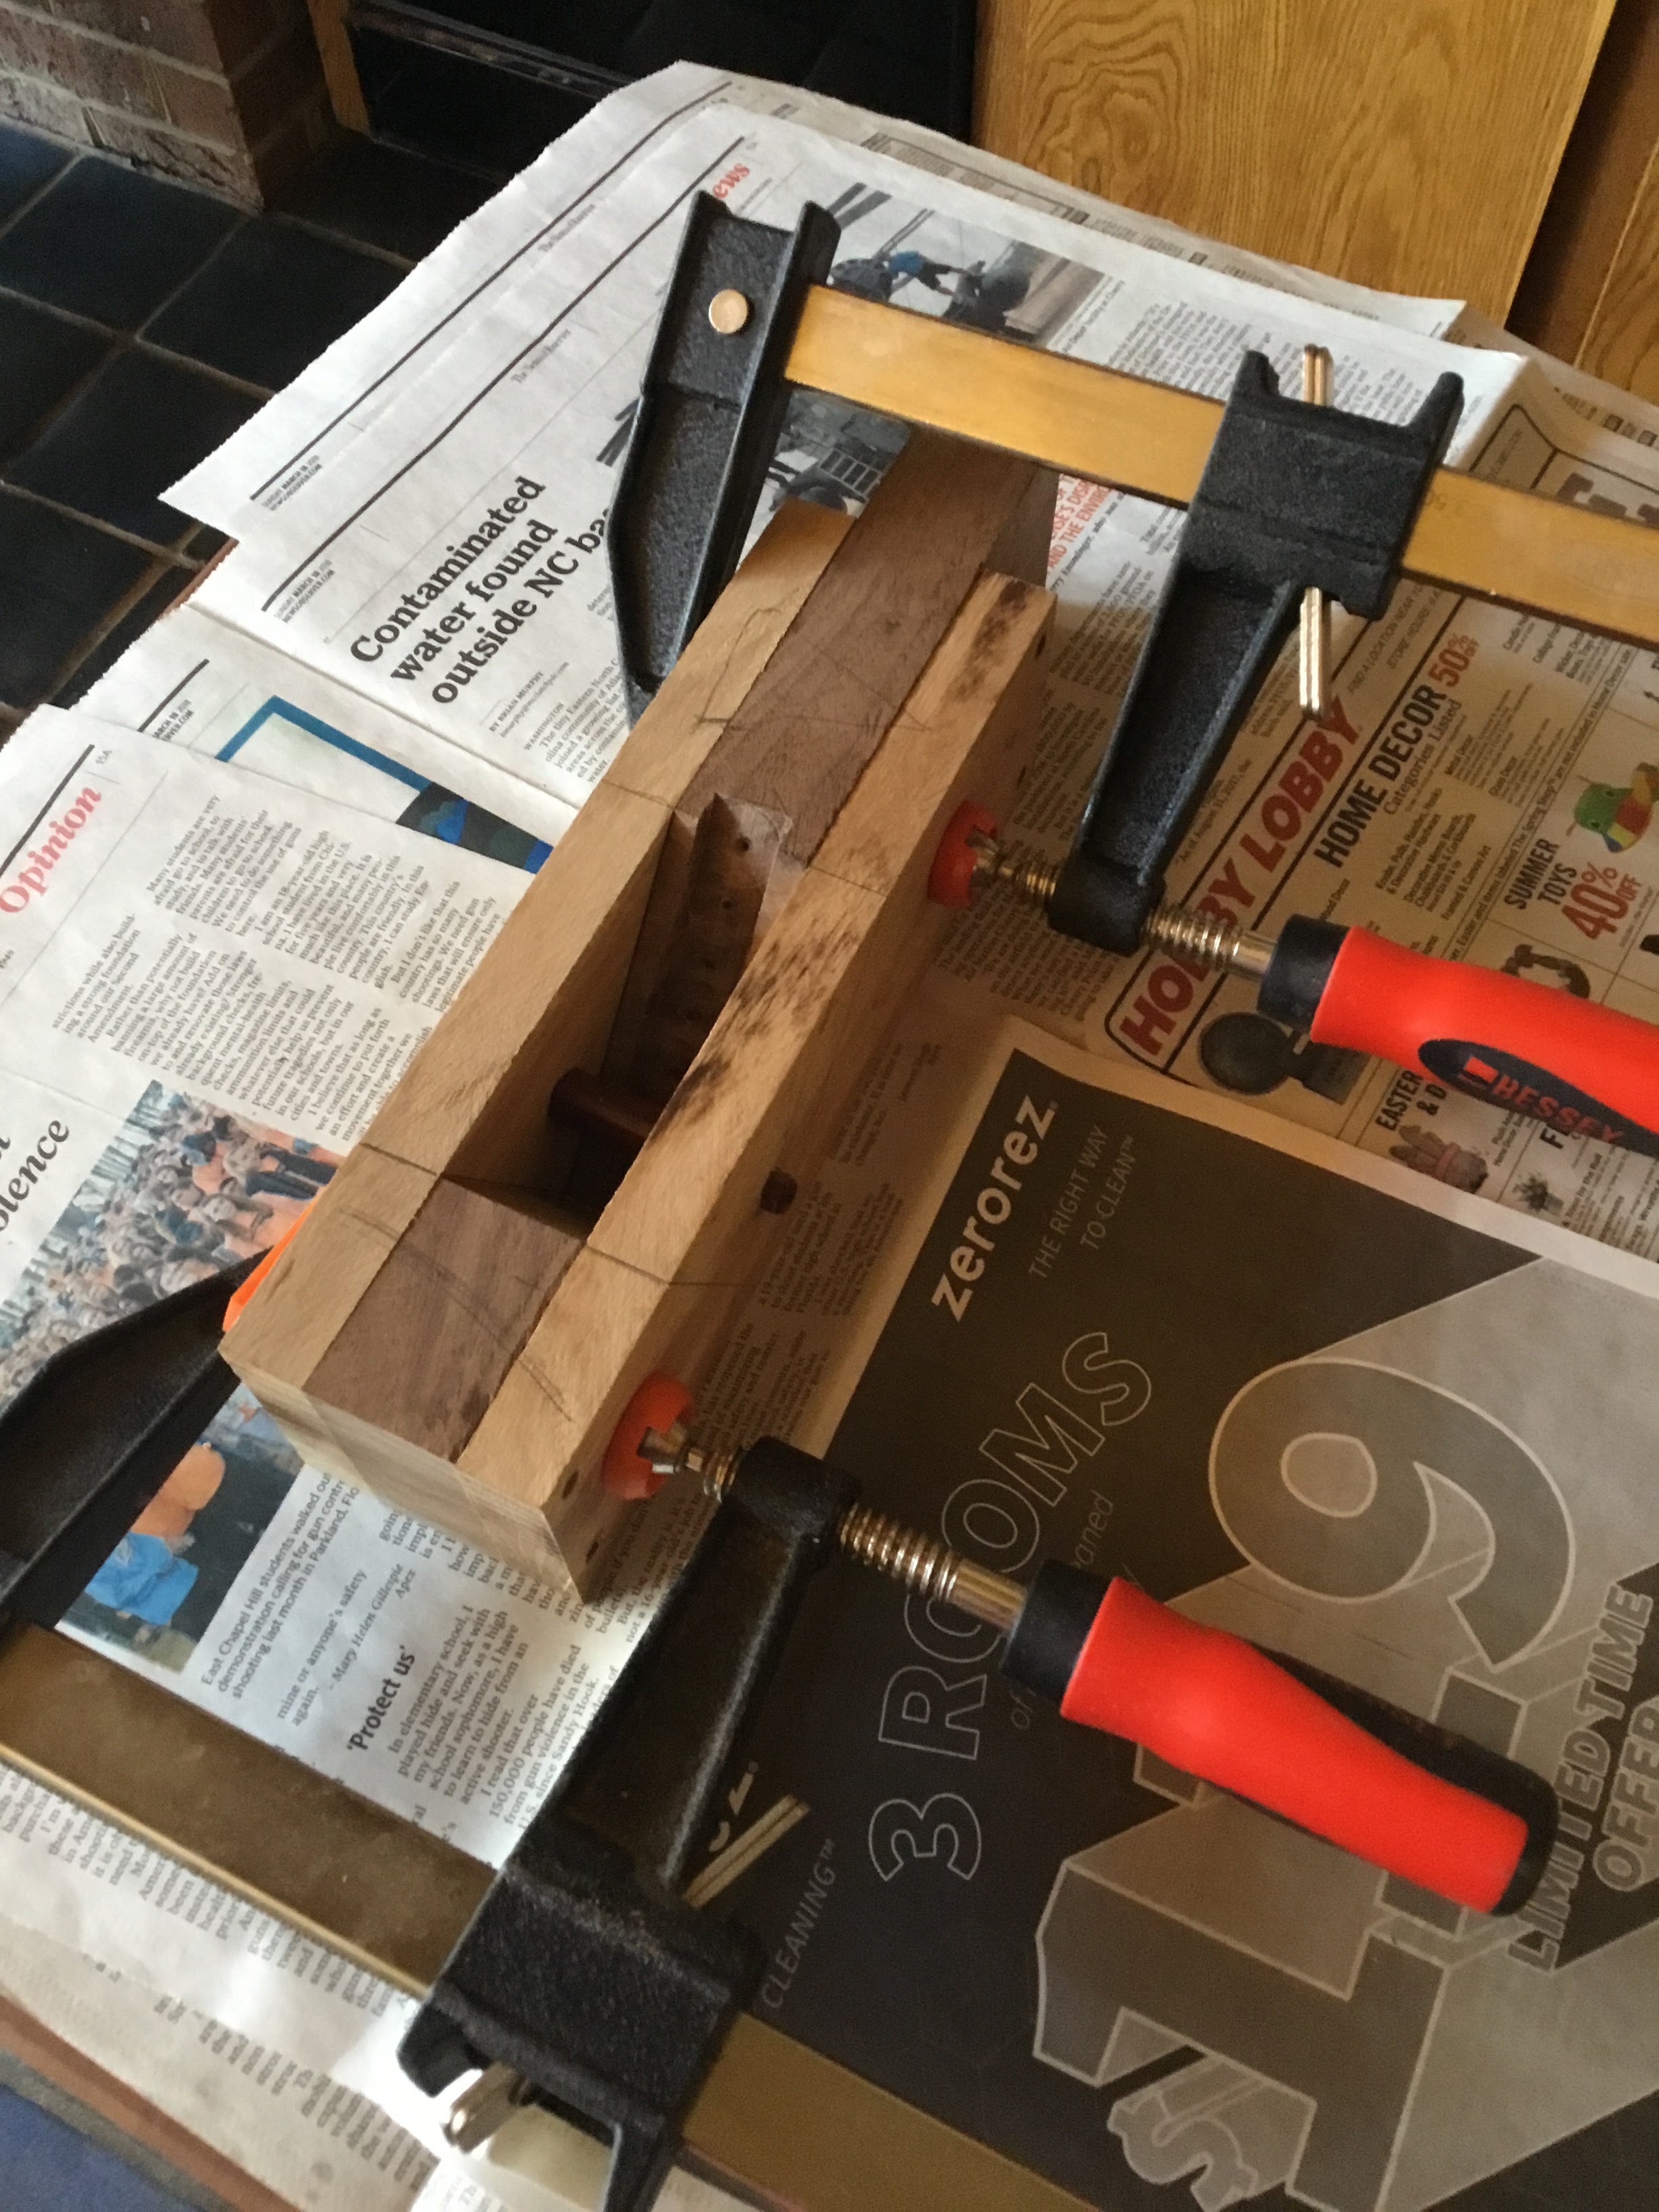
Cutting the pieces out on the table saw is pretty straightforward. The recess in the bed of the plane for the cap iron screw head was made by locking this piece securely in a drill press vise at the correct angle and drilling a line of overlapping 3/4″ diameter holes 1/4″ deep with a forstner bit. The center marks left by the bit and the outside circles made by its teeth are clearly visible. The small webs left between the holes were cleaned up with a chisel. The pin which locks the wedge is 1/2″ square: the 3/8″ round tenons on either end were turned on the lathe: I gently rounded just the corners of the pin. It’s already been finished as it doesn’t get glued: it rotates to line up with the wedge. The holes at the ends of all the pieces are for 1/4″ alignment dowels which will be cut off when the plane is finished. Here is the dry fit.
Since everything looks good – here it is with glue.
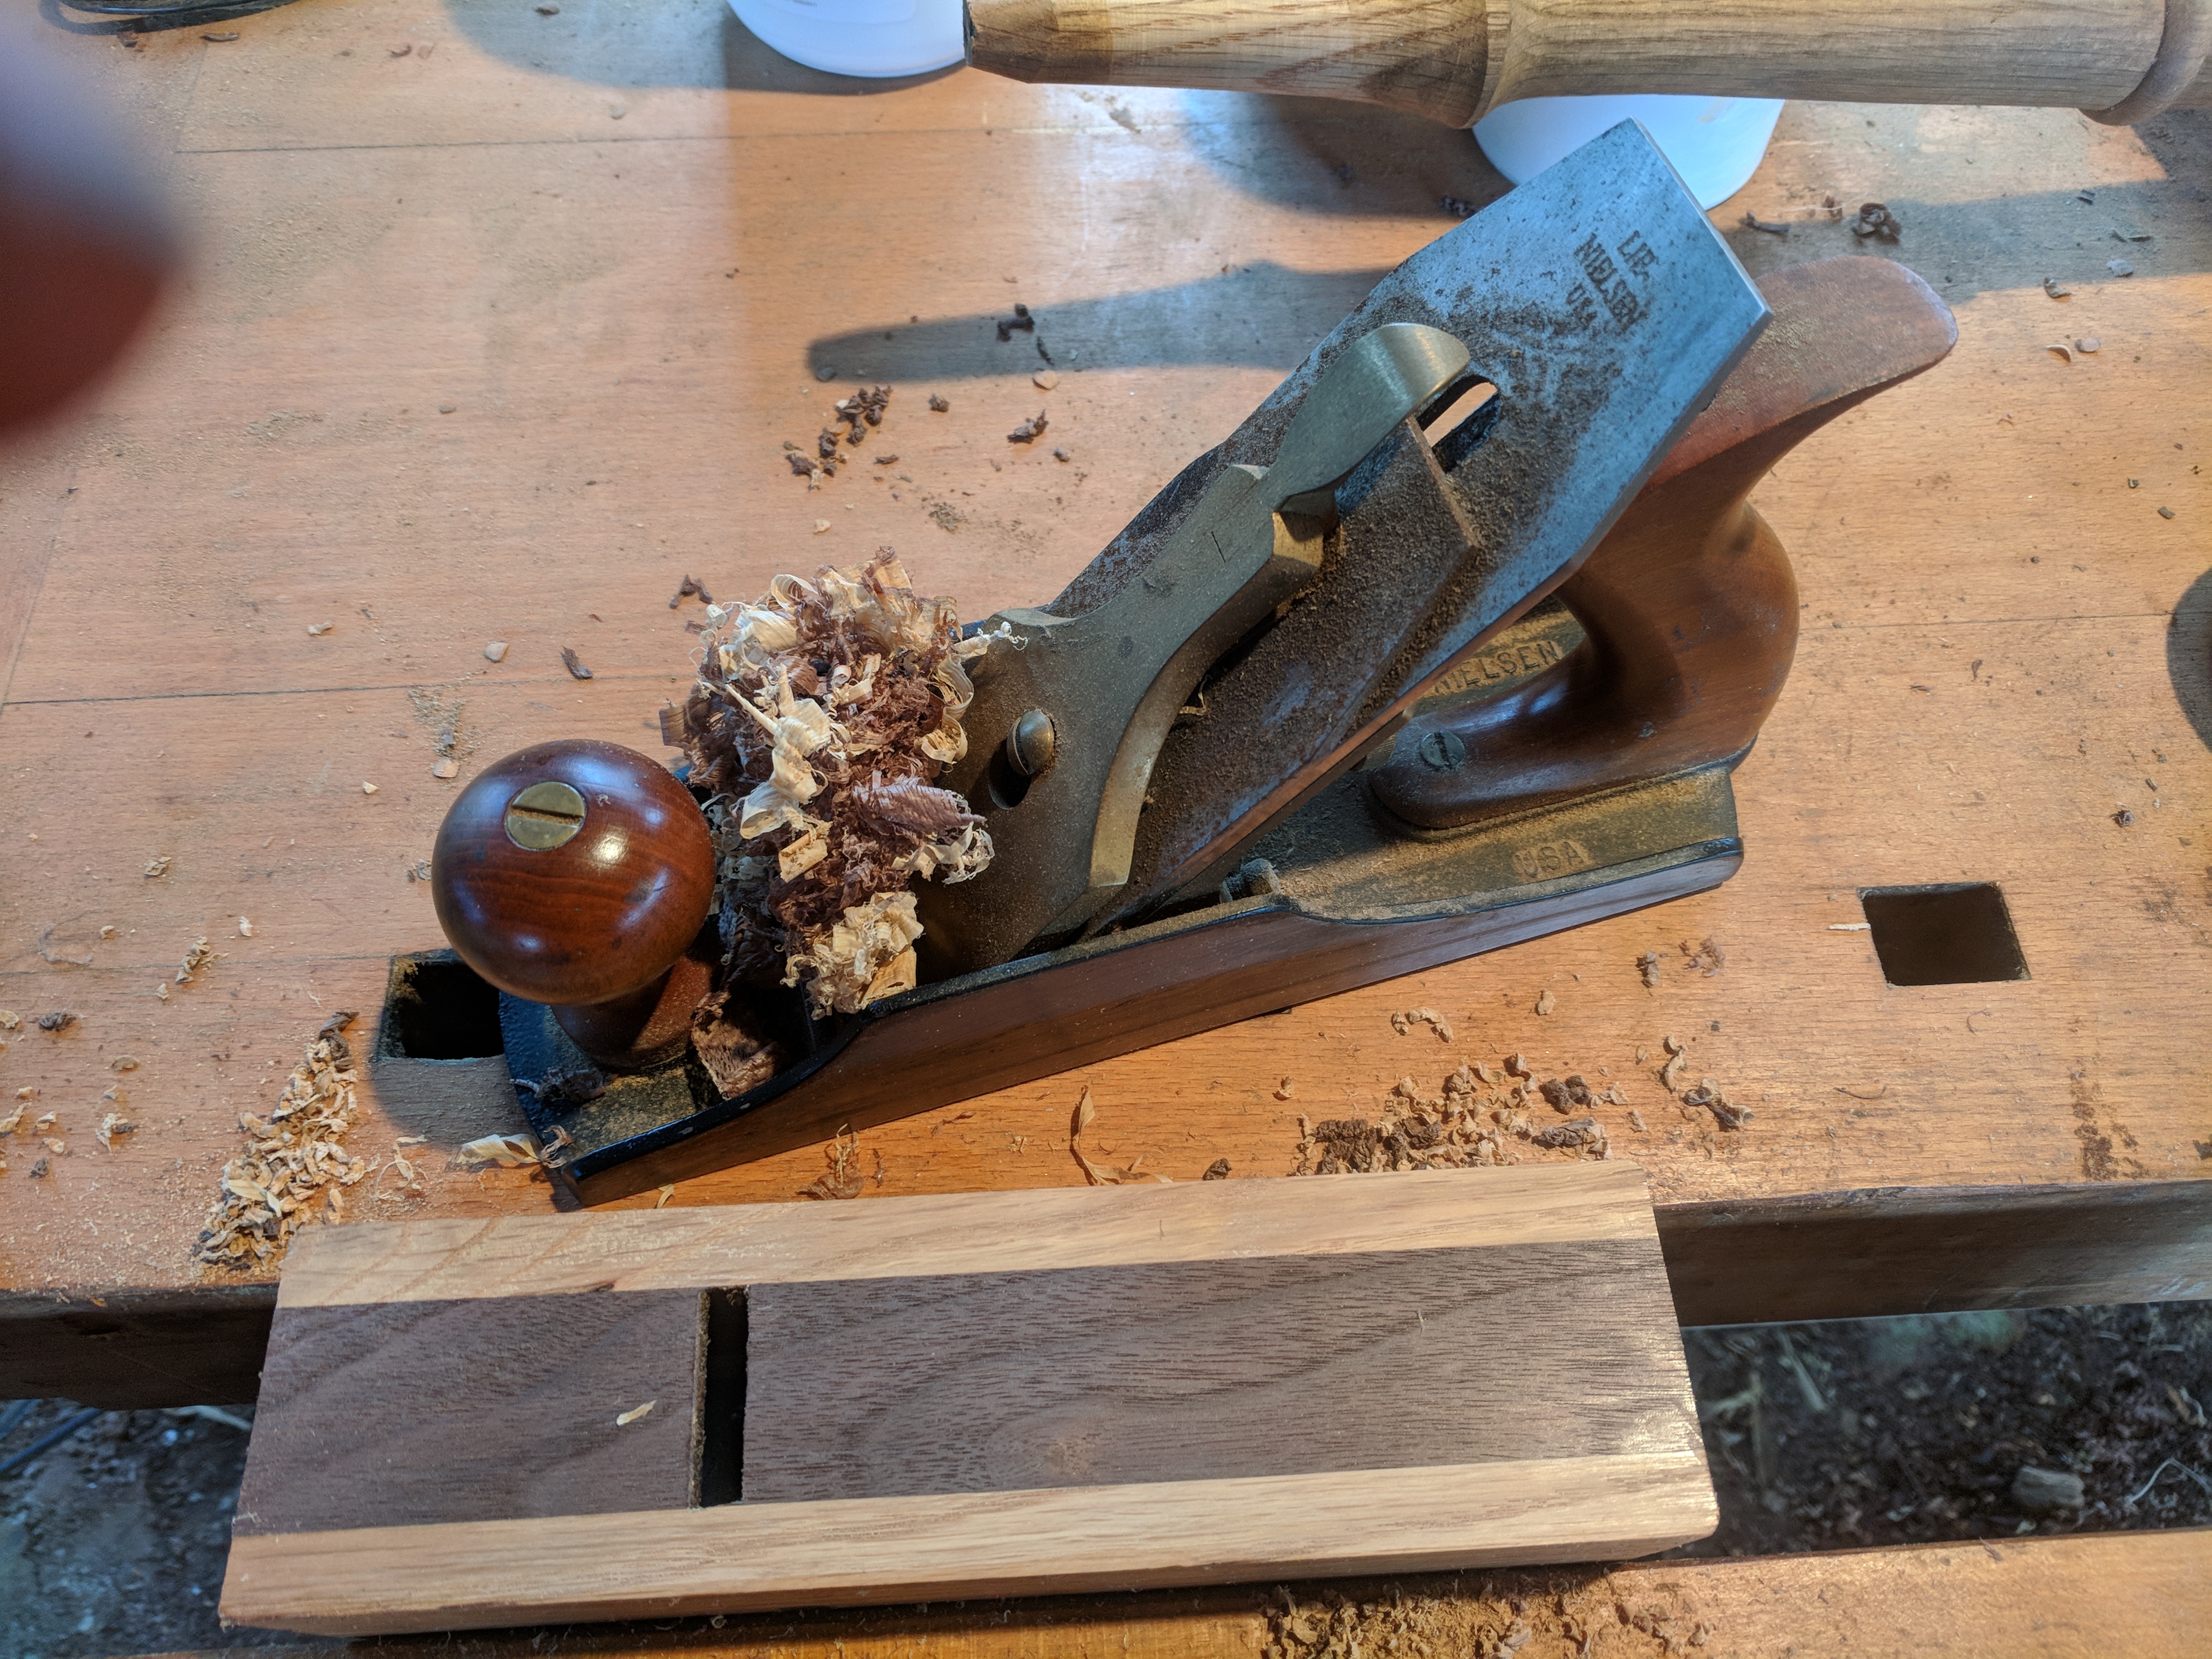
Yes, I used a few more clamps. This was a cold day and you may notice that I’m doing this inside my house. Some of the alignment dowels can be seen sticking out of the ends. These were made of cut off pieces of the walnut used for the body of the plane. I cut 1/4″ square pieces on the table saw, cut them into short pieces a little longer than the drilled holes on the band saw, and drove them through a Veritas dowel plate. When the glue was dry (24 hours) the clamps were removed. I cut the outside profile on the band saw. The sole was smoothed and flattened using Lie Nielsen #4 1/2 smoothing plane. This also achieved the correct mouth opening. By the way, that’s dried beeswax not rust on the cap iron, blade, and sides of the Lie Nielsen plane. I got a little carried away applying it some time ago as I’ve had a problem with moisture in my shop: it dried in streaks. The shavings can be clearly seen as a mix of walnut and oak.
Finally the sides were thinned somewhat and were squared to the sole by running the body over the jointer. The sharp edges on the sides and back of the sole were chamfered with a block plane and the top edges were rounded using a spokeshave. A little Tried and True oil and wax finish and you have the picture that began this post. To the upper right you can see the wooden hammer I made to tune my wooden planes. The wood being planed in that picture is a piece of hard maple. You can see light through the shavings: a little patience and you can adjust it to make lace.
In the video below I have just sharpened and adjusted the plane, and have selected a cut off scrap of walnut to see what kind of surface I can create. At the start of the video you can see the saw marks and even some burns on the freshly cut surface of this piece of wood. The first couple of cuts show clearly that I am planing against the grain so I turn it around and start over. Right away the surface begins to clear. James Krenov would, I think, suggest you pay attention to the sound the plane makes when it is working with the wood, not against it: quite a difference. Since these are light cuts, it requires several passes to remove all the saw marks and the rough grain torn up by the initial cuts. Close inspection reveals a very nice surface, but a few saw marks on the left edge of the board. Moving under the light reveals some other flaws that need a little more attention. After finishing with the plane I briefly admired the fine shavings. (One of my pet peeves is the excessive attention paid to shavings and not to the finished surface: the shavings will be swept up when all is done. Japanese woodworkers even have a competition where they try to create the thinnest continuous shaving from the edge of a board with a finely tuned plane. They measure the shaving with machinists calipers and don’t even look at the surface that has been planed.) Finally, I applied a little paste wax which I then buffed to show what the piece might look like with finish.
Come to the NC State Crafts Center this Saturday for our annual Crafts Fair.
I’ve been making tops since I’ve been turning wood. As a kid I played with them at my Grandmother’s house so they have wonderful associations for me. I make mine shaped like acorns. One of my early woodturning teachers was Jake Brubaker. He was a Menonite minister and made acorn shaped handles on his spice boxes. He told us that he did this because in the Menonite church the acorn was used as a symbol of hope and renewal.
I’ve been making these this week to get ready for the crafts fair at the NCSU Crafts Center on Saturday from 10 to 5. They’re $5 each and I should have plenty. Here’s a little longer video of me making one.
The Bascom center for visual art in Highlands will be hosting an exhibit, American Craft Today: Chairs, which has been juried by Brian Fireman. The exhibit opens with a reception from 4 to 6 pm on Friday October 6, which is open to the public. At the opening reception Mr. Fireman will give a talk. The show runs through December 10, 2017. This chair will be included in the exhibit.
When my son, James, and his wife, Melanie, announced the upcoming birth of Nancy’s and my first grandchild last spring, James immediately suggested we build a crib for the baby.
We installed this a couple of weeks ago when she was 2 weeks old. She’s sleeping in a bassinet beside their bed right now, but we couldn’t resist putting her in the crib to try it out.
The walnut spindles in the ends have captive rings that she can play with when she’s bored.
It happens that the length of a crib mattress is roughly equal to the width of a double bed mattress, so when she can climb out of the crib the ends can be discarded and the sides can become the head and foot boards of a full-sized bed.
To read a photo essay and see a video of the making of this crib click here.
Baby rattles are an old woodturner’s trick. Also called captive rings, the rattle is turned from one piece of wood: the beads are turned first, sanded, then undercut to free them on the central post. The center is smoothed where the rings had been, and finally the ends are finished. In one of my woodturning books there is a picture of a pre-christian goblet with a captive ring on the stem of the goblet, so, most likely, since there have been lathes, woodturners have enjoyed hearing people ask “How’d you get them on there?”
Here’s a short video of one of my baby rattles in action.
When Nancy and I were first married, her mom, Freddie Trovillion, who got invited to a lot of baby showers, would buy these by the dozen. No one ever had the same gift as she had and she got to tell everyone that it had been hand made by her son in law. When Nancy and I went to Florida for Christmas she would ask for her dozen baby rattles before we even got into the house.
August 25 from 5:30 to 7:30 the NCSU Crafts Center will host an opening reception for their fall exhibition: “Lessons in Wood” will feature works by the wood working instructors at the Crafts Center. I’ll have several pieces in this show: I’m celebrating my 30th year teaching woodturning at NCSU. Parking in the deck opposite the Crafts Center is free after 5:00 pm. The show will run through October 28 and may be viewed whenever the Crafts Center is open.